TYING FOAM HEADS
once you have worked out how to do it the possibilites are endles both with foam both shape and colour wise as well as materials
a big thanks goes out to ken capsey at pike fishing adventures blog for the foam
1-first thing to do is cut out a template best thing to do is try differant shapes on paper till you get one you like
2- place the template on the foam of your choice and cut round the template
3-template and foam after cutting out
4-tie on your thread from the eye and messure back to the back of the foam
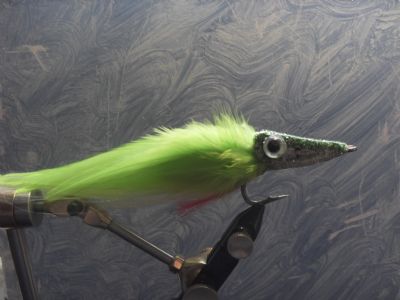
5-start tying in your materials from the back starting where you messured to the back of the foam
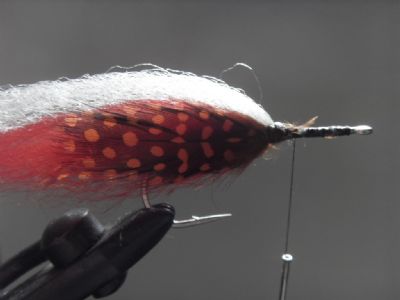
6- place each new piece of material just in frount of the next
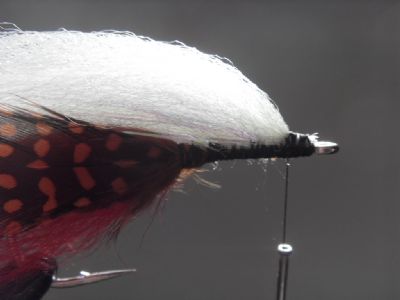
7-continue with placing the material till you get just behind the eye
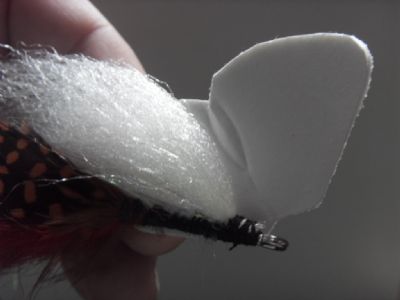
8-place some hot glue on one half of the foam and stick down
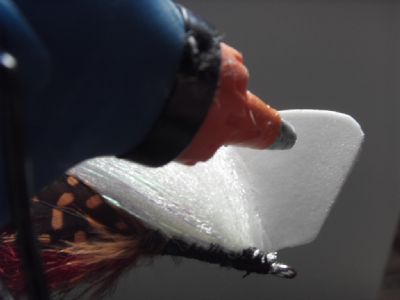
9- add hot glue on the second half of the foam , you can also use superglue if you dont have a glue gun , the hot glue adds some weight to the head to give some action to the fly but its not vital as the fly will still work without the weight
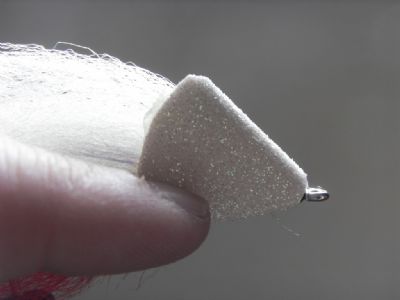
10-fold over and hold down till the glue sets usually just a few seconds
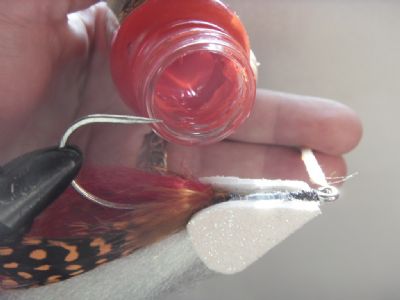
11- the gap underneath needs to be filled you could just varnish but i preffer to use either tulip fabric paint or loon soft head
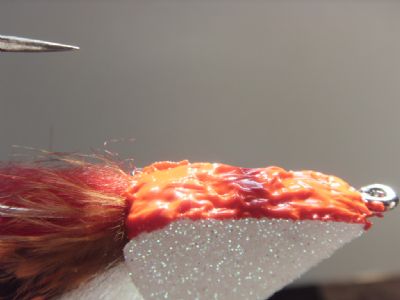
12- when you have filled it it will look like this once semi dry press down with some grease proof paper and this will get rid of the lumps and bumbs giving a smooth finish
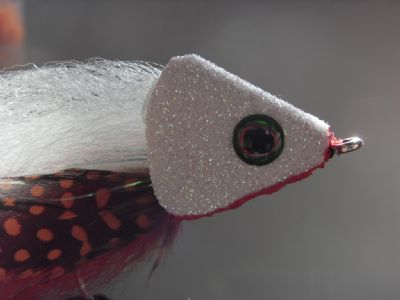
13- stick on a couple of eyes (these are jurrassic eyes from orvis)
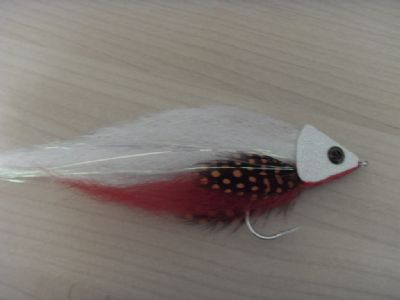
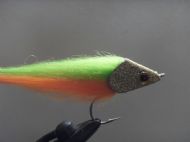
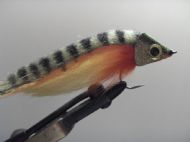
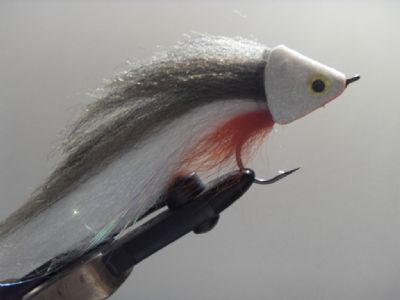
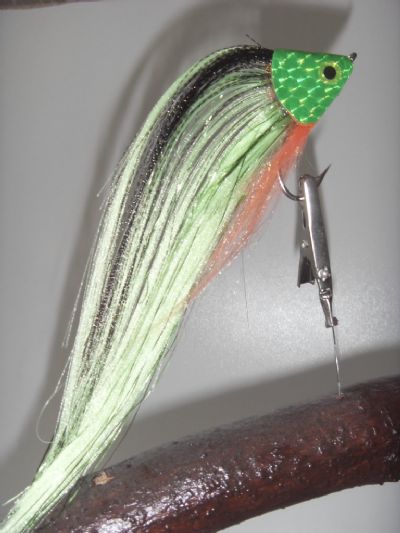
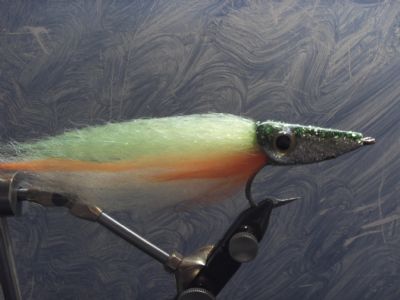
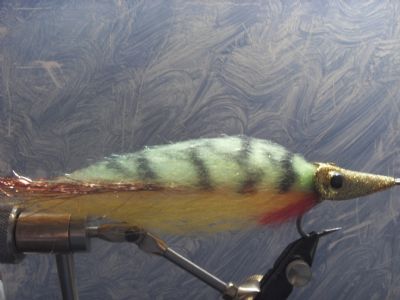
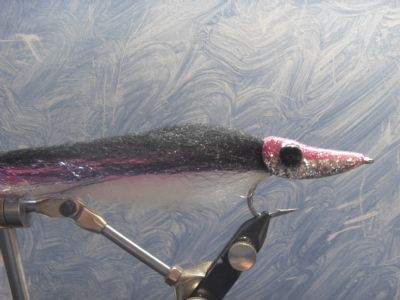
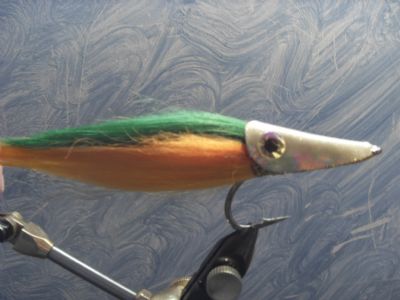
your finished fly 9 inchs of snotrocket snack
as i said theres millions of variations on this just use you imagination
