Mick Yarrow Miniatures (M.Y.Miniatures) | sitemap | log in Mick Yarrow Miniatures (M.Y.Miniatures) | sitemap | log in
|
 |
||
| This is a free Spanglefish 1 website. | ||
STILL OPEN IN
2025
The Battle of Sedgemoor 1685, Argyll's rebellion in Scotland 1685 The Covernanter Rebellion in Lowland Scotland of 1679 Also the war in Ireland 1690 1691, Tangiers and Wars of Europe 1690s- 1700s
Some more new figures added
For Postage and Packing Prices see seperate heading POSTAGE AND PACKING NEWS: New website is now old website, we're back on Spanglefish with no shopping cart!
To navigate this site, choose the tab on the left that you require (ie 15mm The Ice Age) Press the tab and the page with Ice Age figures and pictures will appear. Select the figures etc that you require. Send me detail of what you want, the catalogue number, name of item and amount required and I will invoice you with the amount to pay and postage etc. Simple! Also, alternatively, if you want to just Email me a full list of what item you require, plus the price together with the amount of payment and postage, then pay the full amount and postage to my account at Pay Pal, to mickyarrowminiatures@yahoo.co.uk Postage and Packing UK and BAOR 10% of order value or minimum of £3.00 postage ( Mail as of 1st Feb 2024 has risen to £3.00 minimum and may rise again soon)
EU- 30% of order value or minimum of £5.00 postage
USA-Rest of the world The price of postage to America has doubled in the past couple of years. I can not absorb this cost any more. So mail to America is nowl 30% of order value but a minimum postal rate of £10
If you have any problems then Email me at royalistmymins@yahoo.co.uk
Unless otherwise noted figures are 15mm scale and cost £2.50p per pack of 8 foot or 4 mounted
Minifigs All prices are in UK pounds. Payable by Pay Pal, cash or cheque (in UK pounds sterling) drawn on a UK bank and made payable to: M. YarrowIf you have a querry over the figure, ships etc, please do not hesitate to E-mail meSedgemoorFor a wealth of information on forces involved, flags uniforms etc, then purchase a copy of 'Fighting for liberty' by Stephen M Carter published in the Century of the Soldier series by Hellion
Sedgemoor
 SED1 Musketeers with musket at rest   SED 1 A Pikeman, seperate pike
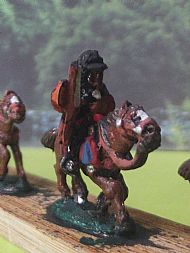
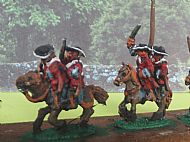
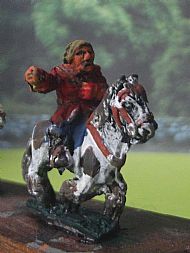
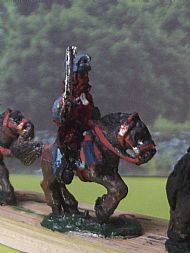
  SED2 Mounted cavalry
  SED 2a Mounted Militia
  SED 2 A Mounted Militia
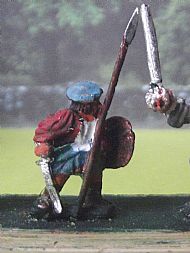
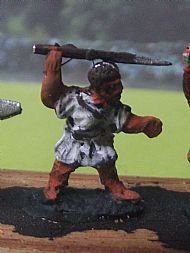
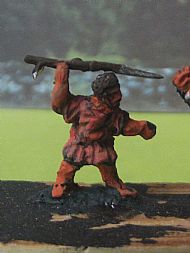
 SED3 Monmouth Scythemen  SED4 Monmouth musketeer
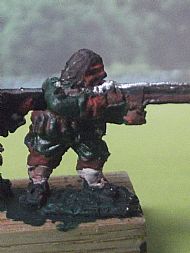
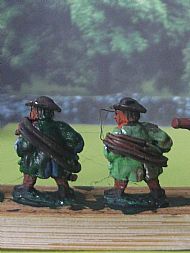
 SED5 Monmouth pike  SED6 Monmouth musketeer firing and advancing  Sed 6 Painted as militia
 Monmouths infantry
 Monmouth cavalry are described as heavily armoured and equipped. Dress is similar to Royal cavalry Use SED2, SED13 and SED24  SED7 Royal foot command, Officers, Sgt, drummers.
SED8 Royal musketeer advancing, musket at high port
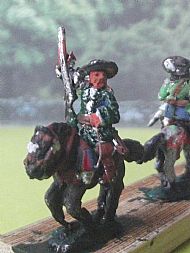
 SED9 Royal musketeer firing  SED10 Royal grenadier at ready  SED11 Royal pike at ready   SED12 Royal mounted command, officer, ensign etc  SED13 Royal cavalry (lobster pot) with sword  SED14 Royal dragoons with muskets  SED15 Highlander assorted Same pose, different weapons   SED24 Royalist cavalry command and officer, standard and bugler (lobster pot)
  SED24 Royalist cavalry command and officer, standard and bugler (lobster pot)
SED24 Royalist cavalry dragoon (lobster pot)
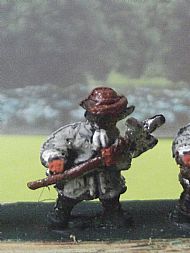
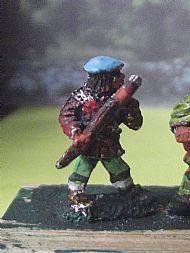
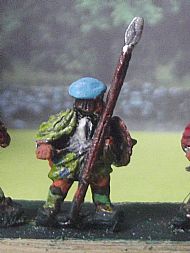
 Covenanter Royal foot and G;asgow Militia by Kev Ward Covenanter Royal foot and G;asgow Militia by Kev WardCovenanter Rebellion 1679 All wearin berets
(Tam o Shanters)
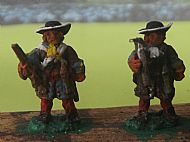
SED16 Lowland rebel/covenanters muskets assorted. In berets (Tam o shanters) Various poses
SED16a Lowland rebel/covenanter pike
SED17 Lowland/royalist musket at ease
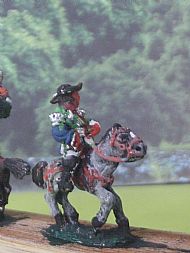
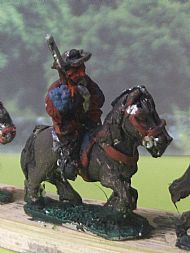
SED25 Lowland Royalist Cavalry
Rebel Covernanters In 1679 a rebbeilion occuried in Lowland Scotland. After years of religious persecution by an authoritarian state who had tried to force religious change on the Scotish people, tension grew and free religion was being convened by covernanters in the open countryside but surrounded by there own armed guards There were two battles, Drumclog was a large skirmish where the Royal dragoons were put to flight. There were also battles within Glasgow when it was occupied by the Covernanters. The second and largest was a battle was at Bothwell bridge near Glasgow where the rebels were eventually defeated by the Royalist goverenment soldiers. The Covernanters spent more time on religious questions than on the outcome of the battle! Flags were used, some old ECW flags in the campaign at skirmishes at Drumclog and Glasgow and at the final battle at Bothwell Bridge where the Covernanter forces were defeated. Strangley, he leader of the English forces was James Scott, The Duke of Monmouth ! Prior to the Covernanter Rebelion but part of it there had been a previous uprising in Lowland Scotland in 1666. A large army of disidents formed and marched on Edinburgh hoping to gain further support. Close to Edinburgh and realising that more recruits were not coming they turned away south and camped for the night at Rullion Green in the Pentland Hills. A Royal advance force of Cavalry which had been pursuing them, caught them there and a battle occuried. The rebels, mainly on foot withstood two charges by the goverment cavalry and only on the third did they break and flee off into the gathering darkness
Covenanter Flags from the war of 1679 Flags used by the rebellious Covenanter forces during the rising in lowland Scotland in 1679 against autocratic religious practices Flags were used in the campaign at Drumclog, Glasgow and final battle of Bothwell Bridge English flags will be the same as used by James 11 forces at the Battle of Sedgemoor in 1685 Some of the original flags of this period still exsist in Scotland
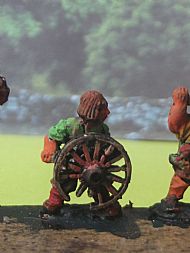
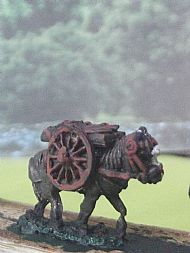
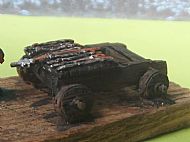
SED27 Improvised wagon gun and crew
SED27 Improvised wagon gun and crew   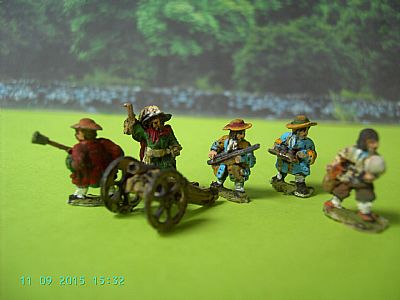 SED28 light infantry gun and crew
  SED 28A Four wheeled wagon and two horses £3.00
 SED 28A Four wheeled wagon and two horses £3.00
Tangiers
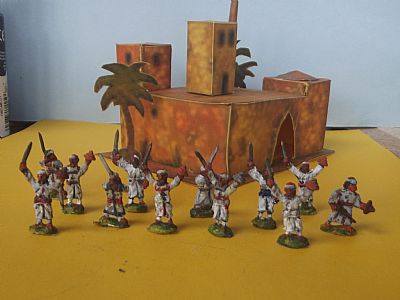
Tangiers was a wedding present to Charles 11 from his wife Catherine of Braganza. Trying to hold the port against the Moorish insurgents was a money draining problems. There were many battles between the English Garrison of Tangiers and the Moors. Eventually the garrison withdrew in the night and left the city to the Moors!
 SED 29 Royal Infantry in hats at the ready
 SED 30 Royal Infantry in lobster pot helmets, ready postion
 SED 30A Royal Infantry in lobster pot helmets, standing
 SED 30B Royal Infantry in lobster pot helmets, firing
  SED 30C Royal Infantry command in lobster pot helmets
 SED 31 Tangiers, Spanish lancers in hats
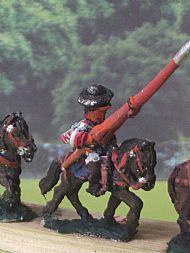 SED 31A Tangiers, Spanish lancers in hats
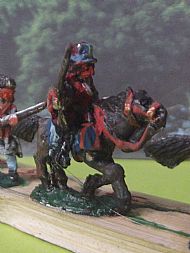
  SED 32 Tangiers, Sailors/civilians in old uniforms on poor quality (Cart) horses as decoys Cavalry
 SED 33 Mounted horse Grenadiers with swords
 SED 34 Mounted grenadiers with muskets
 SED 35 Royal foot in fur caps at ready
For Moorish/Arab enemies use Omani Arabs
 For a wealth of information on forces involved, flags uniforms etc, then purchase a copy of 'Fighting for liberty' by Stephen M Carter published in the Century of the Soldier series by Hellion
 SED 36 Royal foot Grenadiers firing
Conversions of the exisiting ranges of Sedgemoor figures to produce some of Monmouths uniforms
 Monmoths Purple coats 1685. These uniforms were made abroad and brought to England to equipe the invading force and some of the local supporters
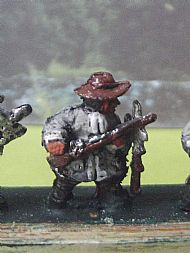
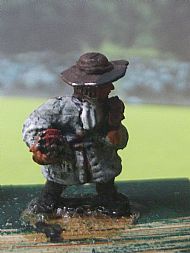
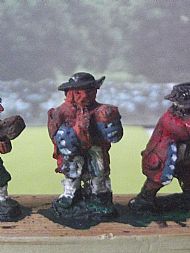
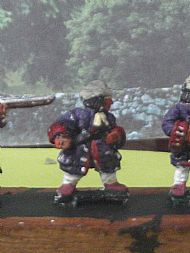
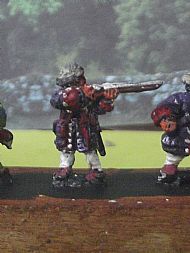 SED 37 Purple coat in wooly hat firing
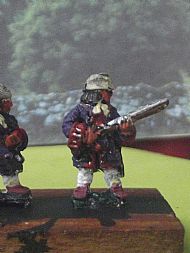 SED 38 Purple coat in wooly hat
 SED 39 Purple coat in wooly hat, pikeman
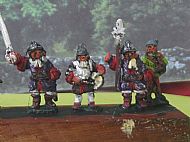
  SED 40 Purple coat foot command in helmets
Argyll's Rebellion in 1685
A planned up rising in Scotland between the Government forces and English equipped Highlanders versus Argyll's Loyalists and Highlanders
For a wealth of information on forces involved, flags uniforms etc, then purchase a copy of 'Fighting for liberty' by Stephen M Carter published in the Century of the Soldier series by Hellion
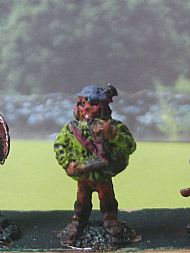
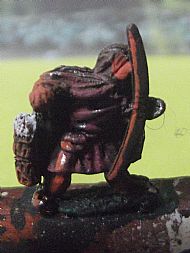
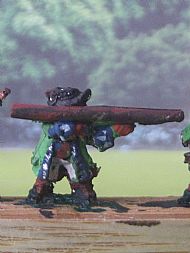
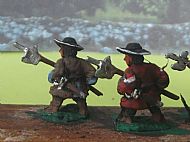
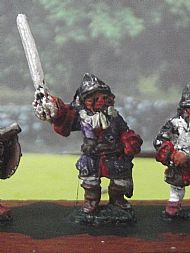
  SED 41A/14 Highlander with target shield and firelock/musket (Argyl's)
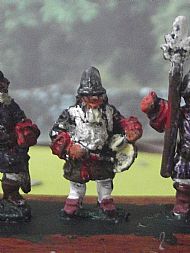
Can be used for Atholl's government forces or Argyll's loyalists. The tartan would be in different shades depending from which area of Scotland the Highlanders were from  SED 41B/14 Highlander with different target shield and firelock/musket (Atholls?)
Can be used for Atholl's government forces or Argyll's loyalists. The tartan would be in different shades depending from which area of Scotland the Highlanders were from
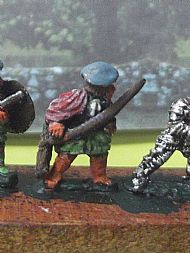 Sed 41 C Highland Bowman
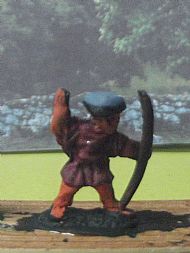 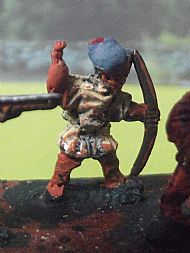 SED 41D Highland bowman
 SED 42 Highland pike/spear or open handed with shield
  SED 43 Highland foot command
SED 43 Highland foot command
SED 44a Royal Scots Dragoons, grenadier foot with halberd and firelocks
SED 44b Royal Scots Dragoons, grenadier foot with short pike and firelocks
SED 45 Royal Scots Dragoons, grenadier foot with firelocks and halberd rest
SED 46 Royal Scots Dragoons, grenadier mounted with carbine and half pike on back
SED 47 Royal Scots Dragoons, grenadier foot with hand grenades
Sed 48 Scottish Iregular bowman and spearmen
Sed 49 Irish Kerns
Sed 50 Monmouths Purple lifeguards 'v'
Sed 51 Matchlock musketeer.
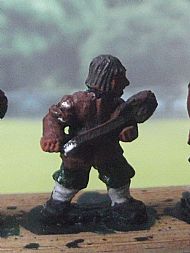
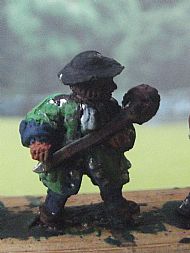
Sed 52 Monmouths Somerset Clubmen with knob sticks
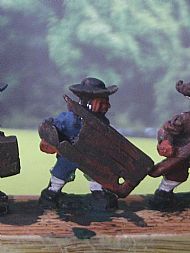
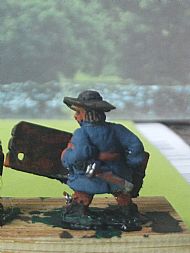
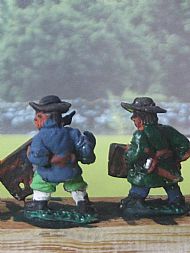
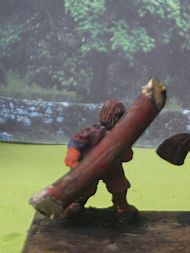
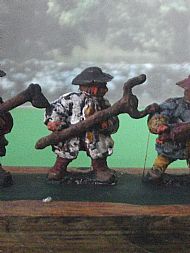
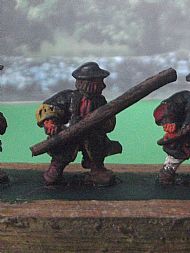
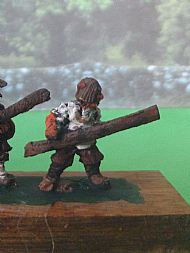
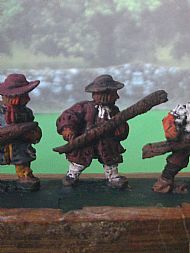
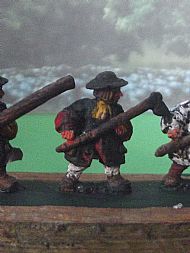
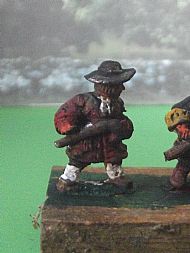
Sed 53 Monmouths combat bridge carrying crew.
Sed 53 Monmouths bridge carrying crew. Sed 53 Monmouths bridge carrying crew.
Sed 53 Monmouths bridge carrying crew.
Sed 53 Monmouths bridge carrying crew. These persons carried footbridges and parts with them so as to place across the dykes and allow the army to cross. Used successfully at Sedgemoor. Can also be used as villagers and barricade builders
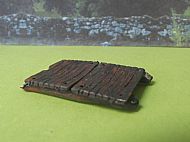
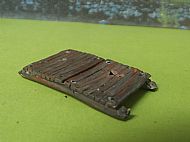
Sed 53A Temporary small dyke bridge (35mm x 20mm) x 2 for £2.50
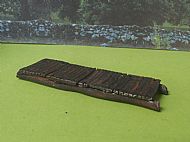
Sed 53 B Temporary long dyke bridge (70 mm x 20mm) x 1 for £2.50
Sed 54 Gentlmen Volunteers.
Sed 55 Militia Musketeer with sword
Sed 56 Standing Pikeman
Sed 57 Pack ponys x4 (various)
​Sed 58 Halbard man, to use as rebel or Royal infantry Sergeant or Corporal.
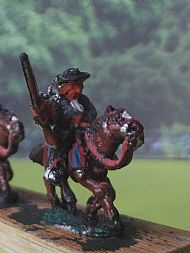
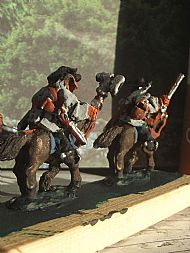
Sed 59 Double mounted cavalryman /infantreyman as mentioned at the Battle for Frome x 3 ( 3 horses x 6 riders)
Sed 60 Up to 12 shot machine used in the defence of Bridgeport plus two crew £3.00
Rebel Somerset Marsh stave/staff men which Monmouth marched at the head of into Bridgewater prior to the battle
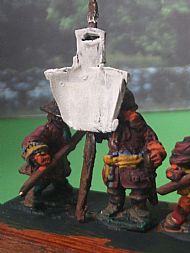
Sed 61 Rebel white apron banner as flown at Bridgewater and mix of rebels x 8
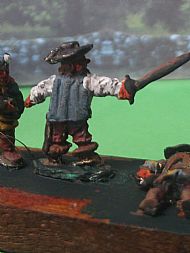
Sed 62 Rebel stave/staff men, mixed x 8
Sed 63 Rebel axe men x 8
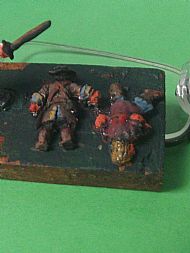
Sed 64 Rebel/ Royal dead x 8
More to come.
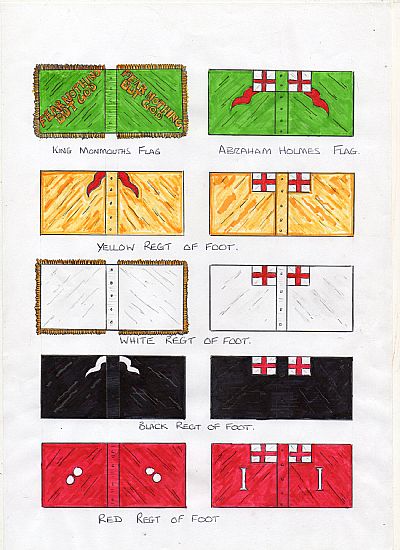
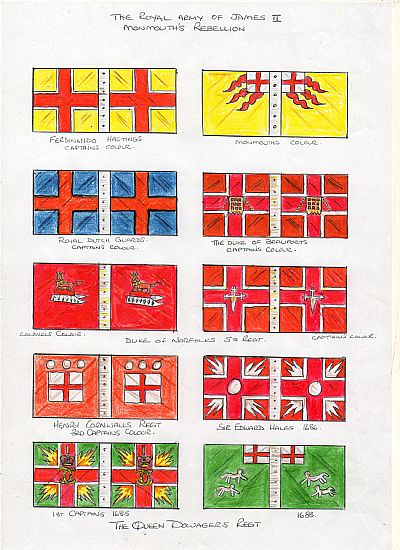
Free Flags of what James 11, andMonmouths flags plus Williams111 flags, did and could have looked like.
There is very little information about the flag flown by Monmouths forces. There are a few references to 'Red regiments and Blue Regiments etc and Monmouths flag having 'Fear nothing but God', written on, but little else other than the number of flags being 27 and they were made at Taunton by young ladies at a school The blue flag with three white 'pile wavys', labelled Monmouths blue regiment, but the story is that it was captured during the Sedgemoor campaign and remained in the possesion of the same family until recent years. It may have been a rebel or a royal flag and still exists in a museum The second batch of flags are for the army of James the second, except the yellow flag with three pile wavy which is a conjectional Monmouth colour All flags designed, drawn and coloured by the amazing Kev Ward. More flags to come !
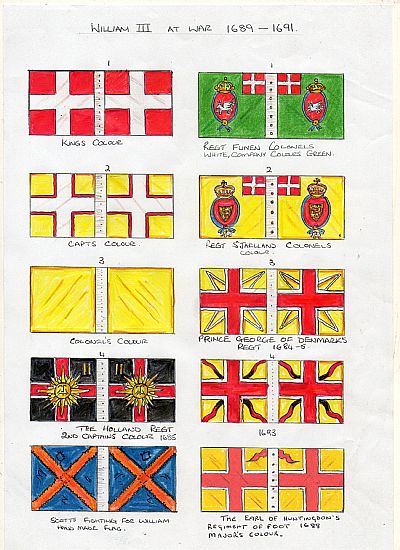
Flags used by the army of William 111, in England in 1688 and against James 11, forces in Ireland 1689 to 1691 Again drawn, designed and coloured by Kev Ward
|  |
|
 | ||


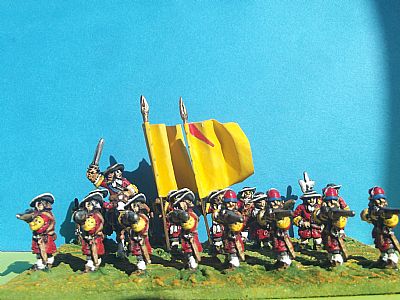


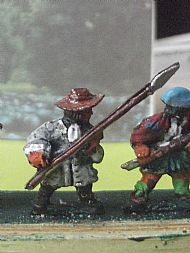
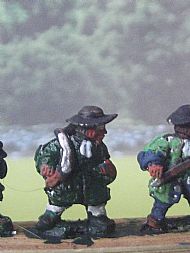
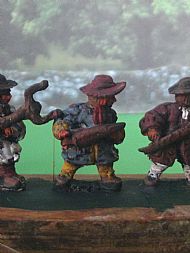
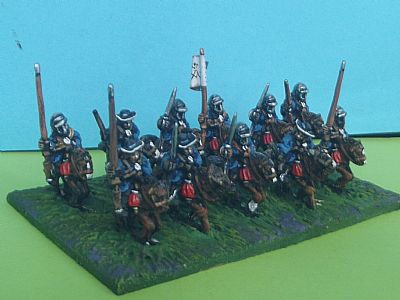
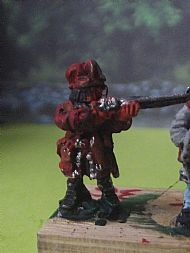
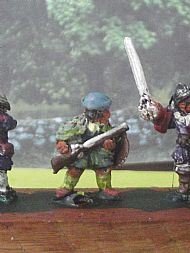
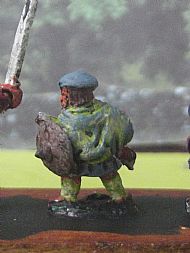
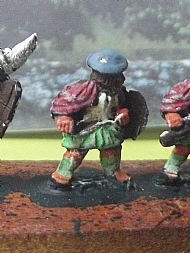
 Covenanter rebel infantry painted by Kev Ward