 On Any Monday | sitemap | log in On Any Monday | sitemap | log in
|
 |
||
| This is a free Spanglefish 1 website. | ||
Honda CB 250 K4Owned by Andy
Nearly ready to rock and roll!
One snowy day the CB 250 arrives
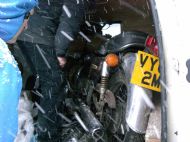
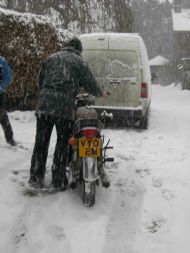
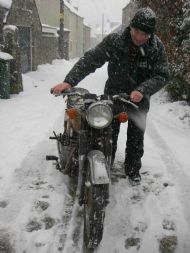
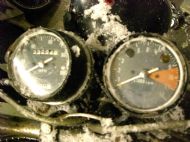
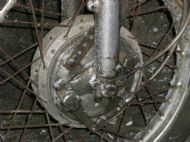
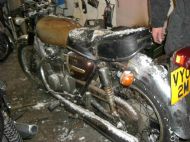
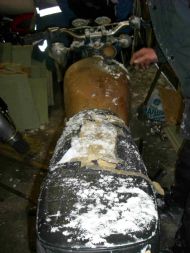
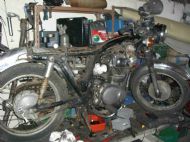
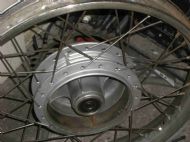
The CB 250 has arrived! In heavy snow, Andy brings the bike up to the shed. On first inspection it is remarkably complete apart from a few very minor items such as an indicator. A mere twenty odd thousand on the clock and very original apart from the petrol tank that someone thought about painting. It was probably the chocolate brown colour, whilst this a rare colour for the bike and worth reinstating, brown is not a great colour for any vehicle! See below for more on colour. It was a particularly cold when Andy arrives having driven to Manchester to pick the bike up. Of note is the front hub, which is the same as the adapted numero uno front hub; we were unsure of it's origin but this confirms it is a CB250 item - Rod knows which brake shoes to order now!
First view of the bike in the van
Fresh out of the van
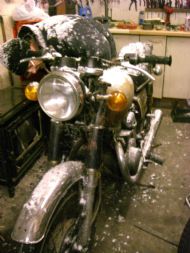
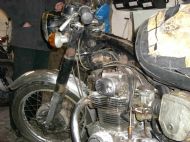
Front view in the snow And into the warm shed
23000 on the clock A familiar front brake!
Still covered in snow Inspecting the tank
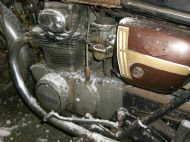
Engine left side, note brown panel &Tank off for a better look
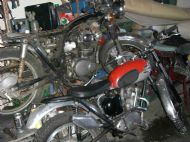
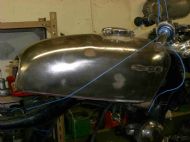
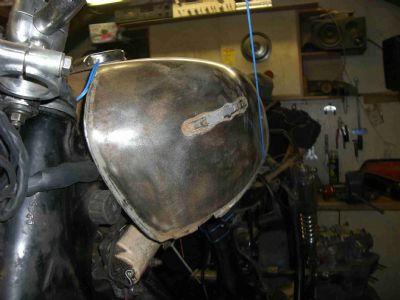
Two views with the tank off and it all looks remarkably original 20th December, the stripdown begins despite the presence of Black Bottle, lager, pakora and samosas. The subject of the colour arose. A purple colour has been disguised by black paint on the fork shrouds, the paint has been removed from the tank replaced by a layer of primer, and side panels of two other colours - bronze (rather than brown) and gold. We will go with what the V5 eventually reveals.
Up on the bench CB 250 and Cub
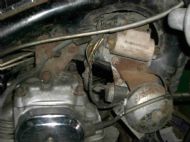
The bike is almost complete and has been stored in a dry shed as the chrome shines up quite rapidly; a bit of solvol and Allan has some bits shiny again. There are a few bits and pieces that are not quite right. The headlamp is located on double brackets although the headlamp shell looks original and would fit without the second set of brackets. The wiring also passes an initial test, sparking OK on turning the engine over and most of it seems to operate fine except back left and front right indicator work at the same time!
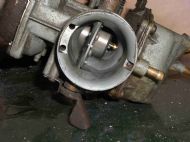
Wiring complete and chrome cover Remarkably clean carb
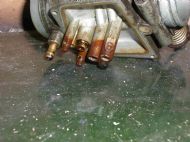
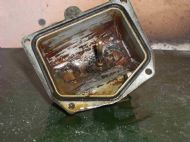
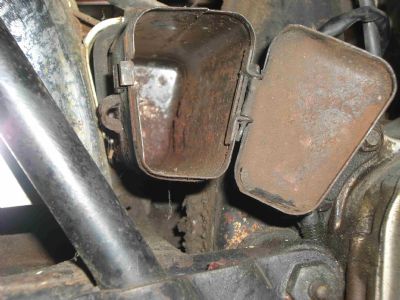
Clearly the carbs will need to be cleaned out and they are removed. With the air cleaners off, the carbs look clean as a whistle but the float bowls are typically crusted in brown and hard petrol residue. The diaphrams look to be in good nick though.
Horrible brown varnish in carb Float bown cleaned up!
We normally look to see why the bike was taken off the road. For this one the spark plug threads in the cylinder head appear to be damaged as Tak warns us on the guest book. Thanks for that Ro...sorry, Tak. Another minor point of concern is a broken screw at the engine oil filter cover which someone has tried to redrill and tap. This explains the oil leak that Andy discovered on transportation. We look in the toolbox more in hope than expectation for a pristine, original Honda unused toolkit but alas, no tools!
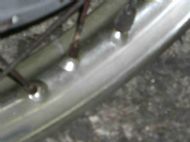
Well, would YOU expect to see original Honda tools? The K4 has now been up on the bench for about 4 weeks and is still being stripped down. The wheels have been removed for cleaning with Andy's magic chrome and alloy compound which despite being a foul smelling mixture of weak acids and alkalis does actually work quite well.
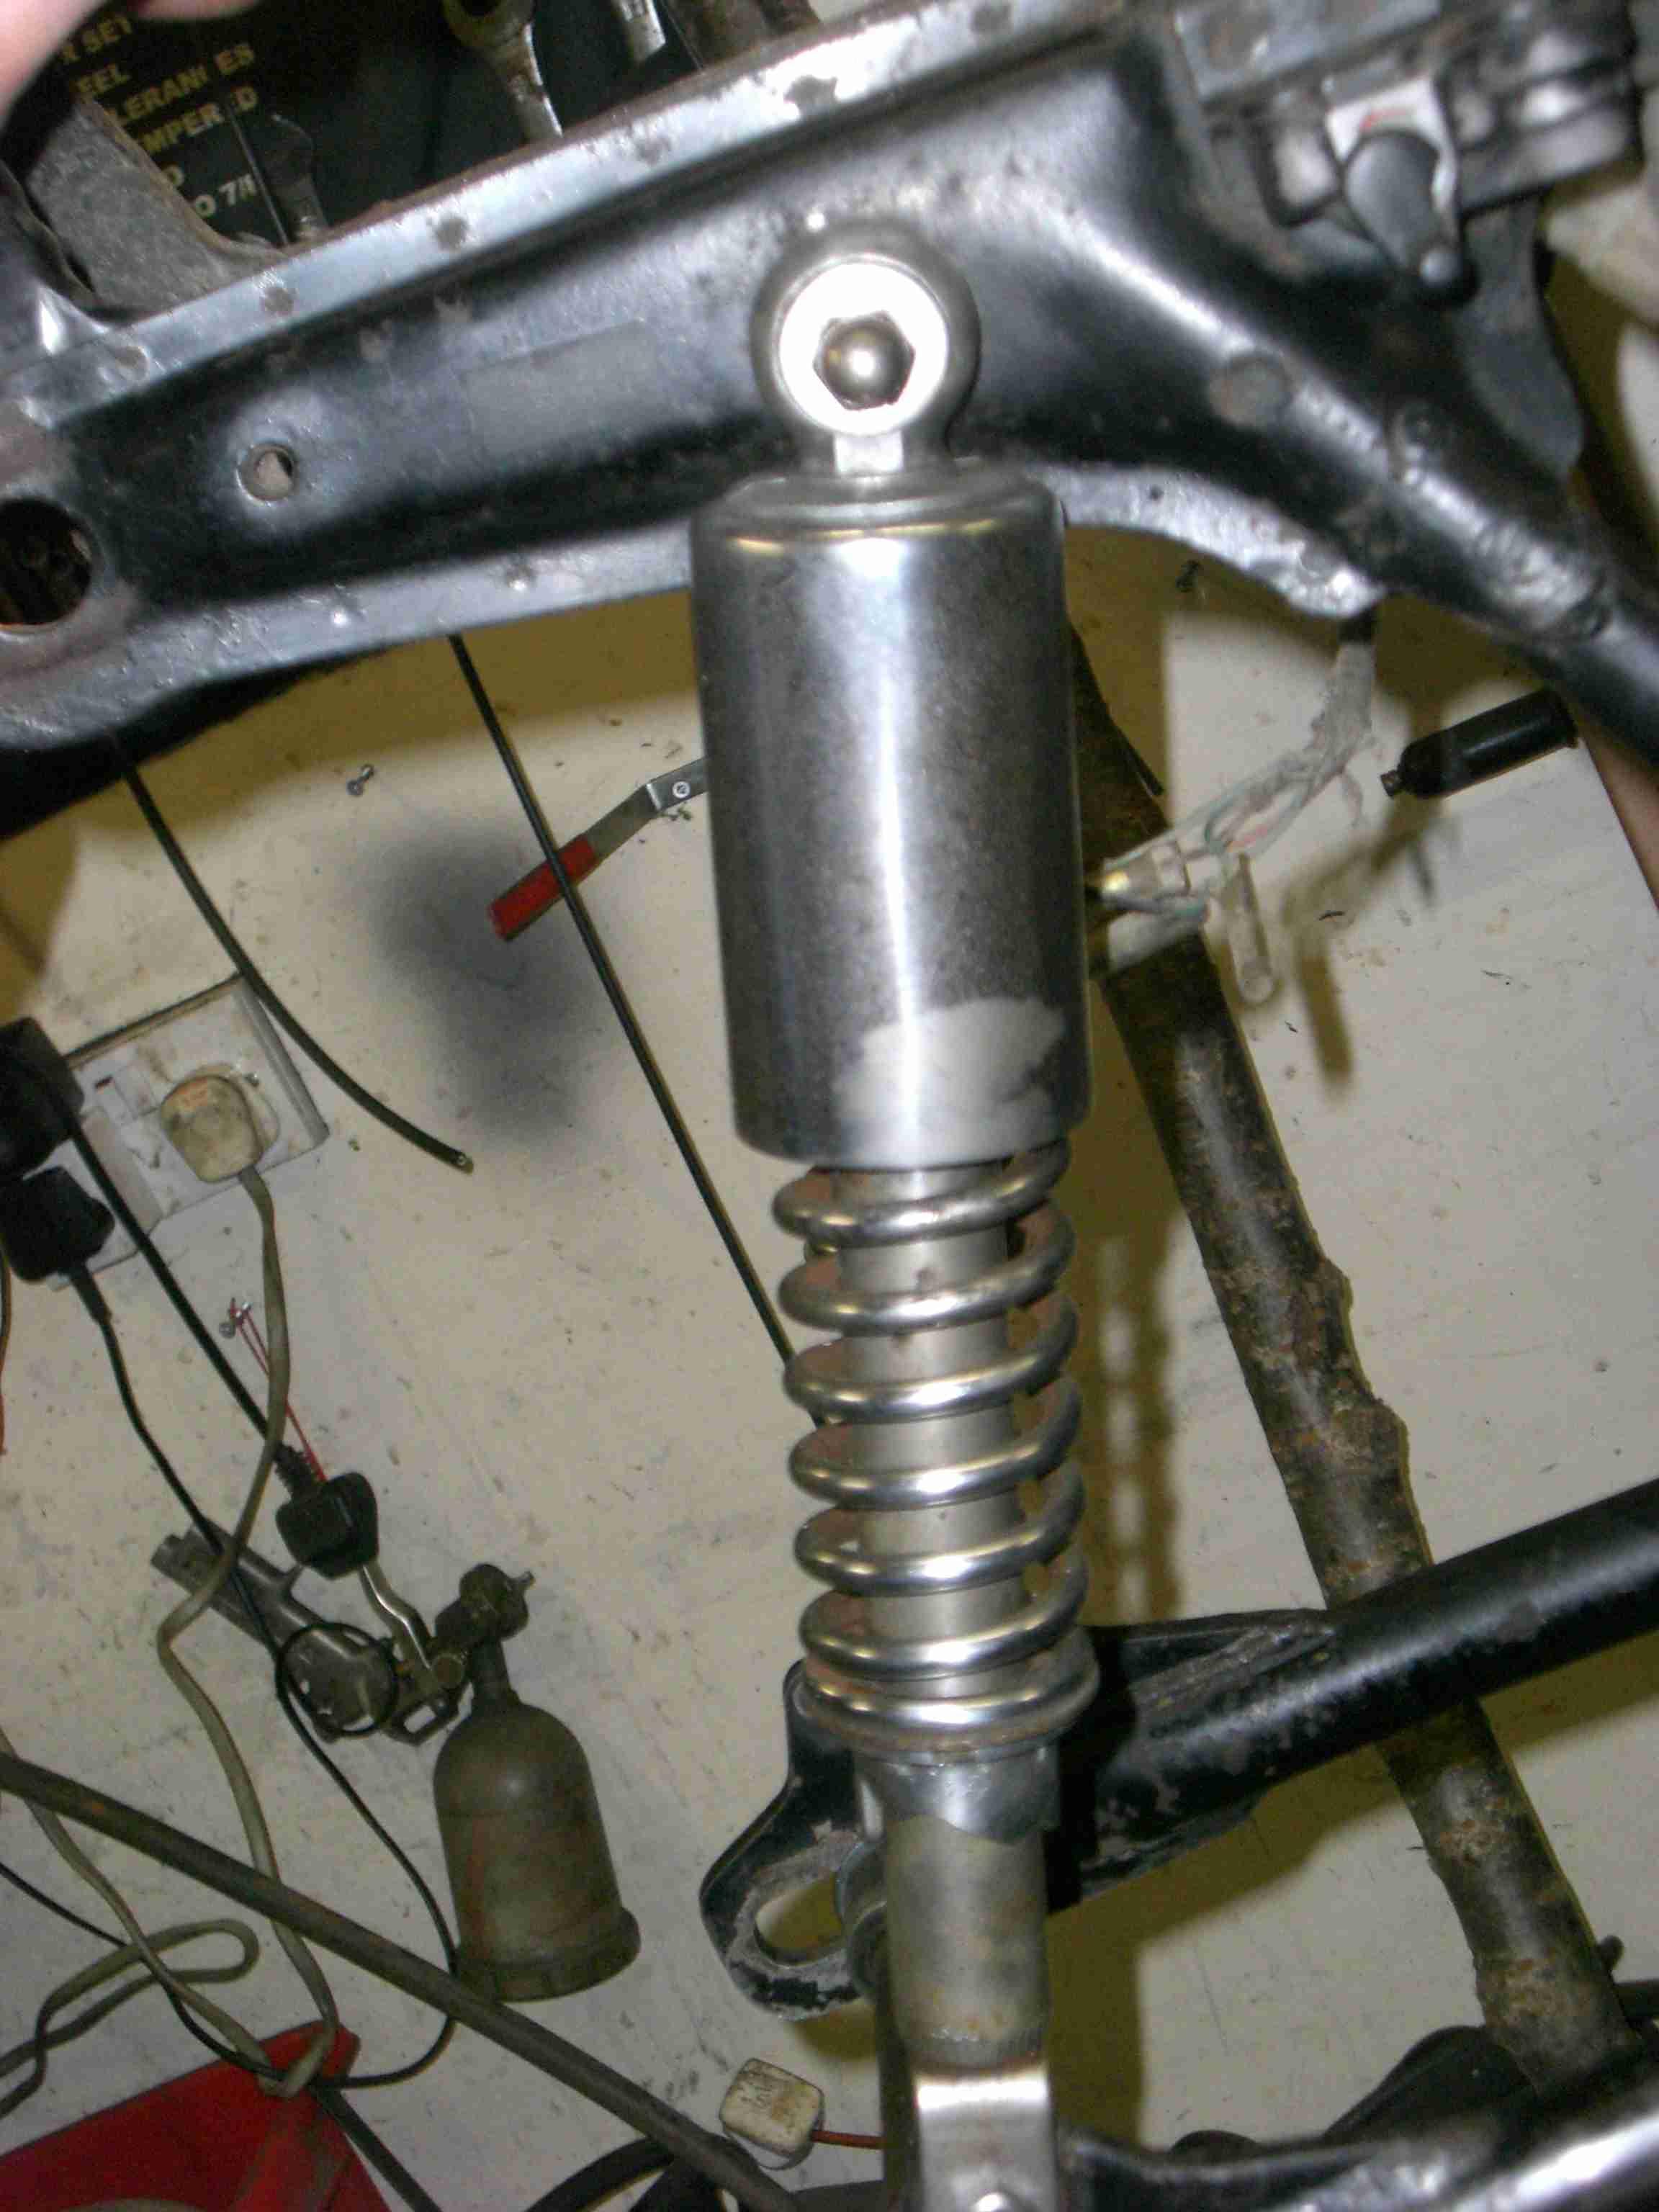
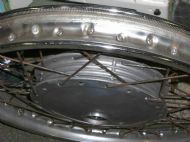
Rusty rim - Don't want that! Mmmmmm a nice clean rim The rear suspension units were also removed, stripped, cleaned up and reassembled without any difficulty or the specified special tools. The headlamp shell arrived on supplementary mounts that were clearly non-standard to raise the shell a few centimetres, possibly to position it properly for a fairing. This was reattached to the original mountings without any difficulty.
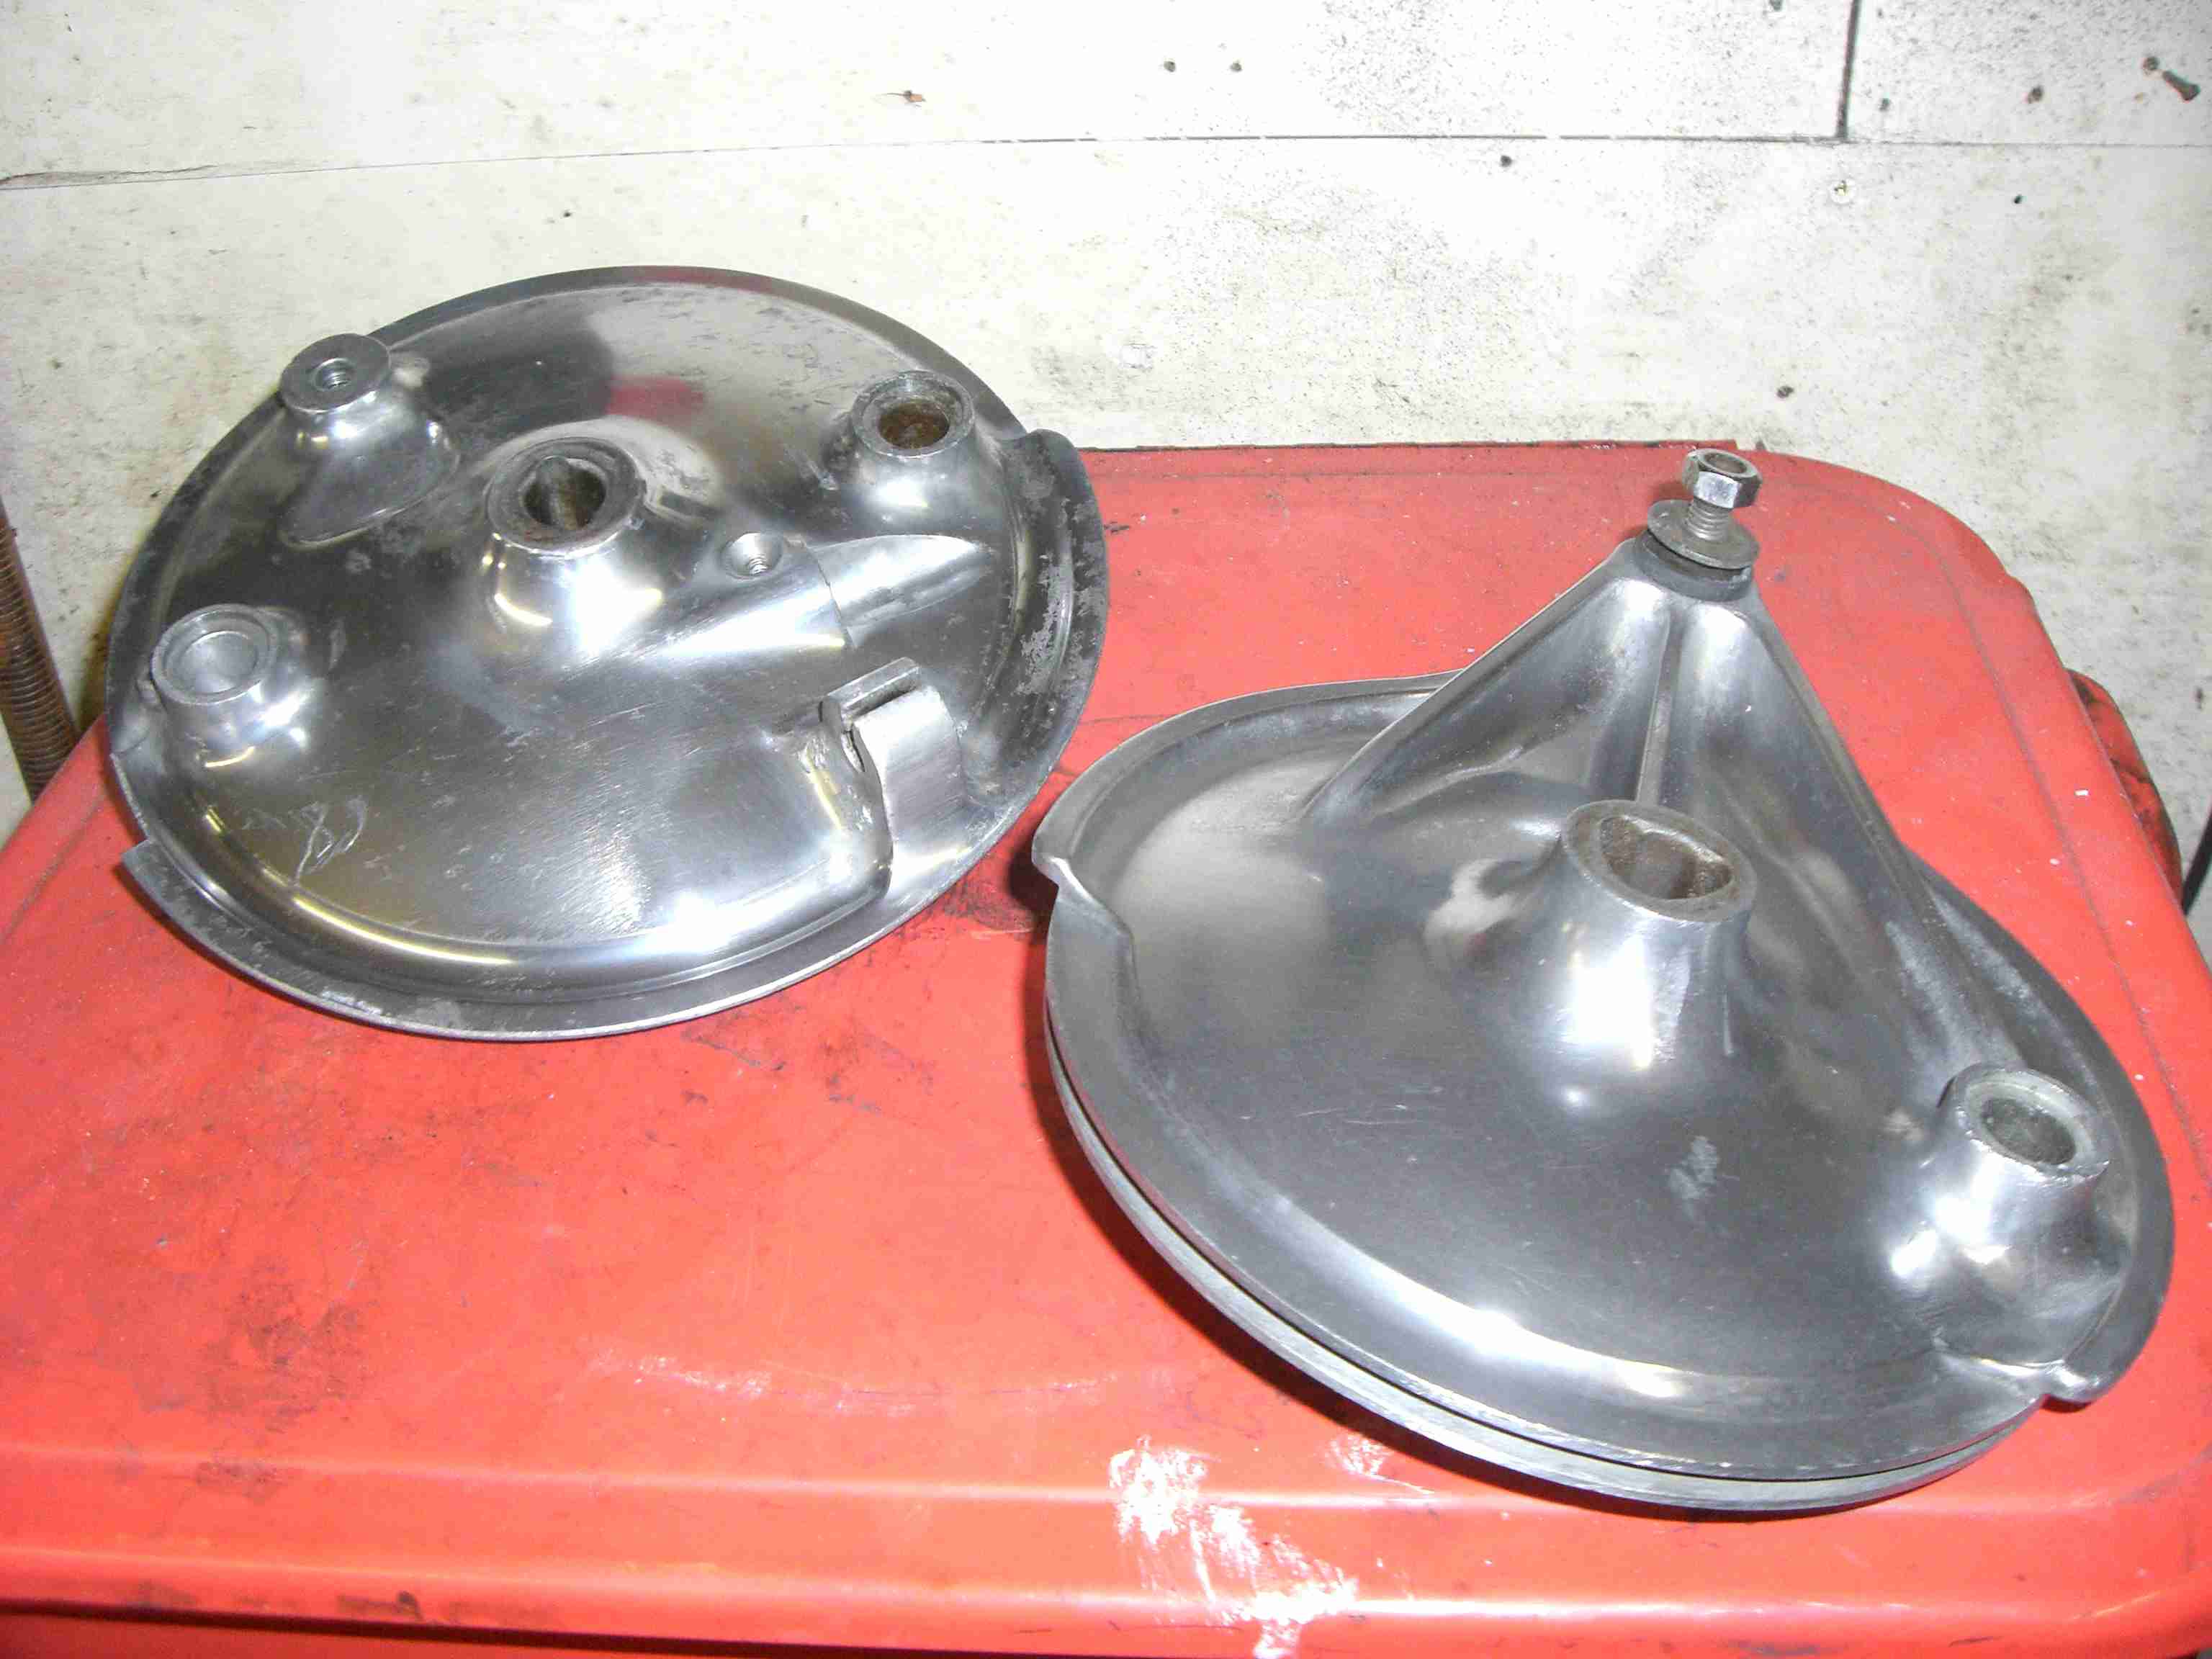
Shiny suspension unit The polishing was continued by Allan and Andy on the hubs and brakeplates. These came up particularly well with Solvol and elbow grease.
Nicely polished hub Foster Grants on for these brakeplates Back to the engine which has been stripped down on the drive side to clean out the centrifugal oil filter after discovering some deposits on removal of the casing for repair. The broken screw holding the oil filter cover was tapped out and repaired satisfactorily; although not 100% it is just holding on the cover and keeping it oiltight under pressure. The sparkplug threads on both sides were a bit dodgy and had suffered a measure of abuse. On the left side, a tap cleaned the threads quite nicely but the right side required a helicoil which was to be attempted in situ. The loan of the proper kit was negotiated and the new thread was inserted without a problem. A blow through from the compressor should have removed any of the aluminium bits that might have dropped into the cylinder.
Left, drive side dismantled Above, coil success
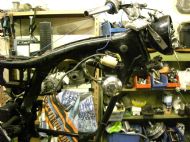
I don't think that the engine will be stripped down further, as there is nothing obvious that merits such action. There might be some more work on the frame and other cycle parts for derusting and painting prior to reassembly for the road. Total amount spent continues to run at the round figure of £0.00 other than the purchase. The bike has been further relieved of cycle parts, notably the forks which have been cleaned up and the tinware unbent where appropriate. There was some contemplation around removing the engine for access to bits for cleaning but ultimately rejected for the moment. All that really remains before reassembly is to test the wiring which is quite complete with a few bodges here and there. Definitely needs testing though. Andy has used a proprietary carb cleaner to clean up the carbs a bit more. They are now thoroughly sparkling and ready for reattachment.
CB250 almost down to the frame A decision is made to remove the engine; this is something not originally contemplated but it now seems foolish not to do so and clean up the frame and the hidden bits of the engine properly. Before doing so, the drive side is reassembled rebuilding the clutch and the centrifugal oil filter.
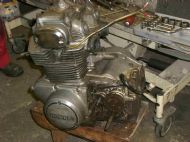
Rebuilt clutch & oil filter Casing on ready for removal The engine comes out easily enough and it will be pressure washed to get it much cleaner and all the muck from between the fins.
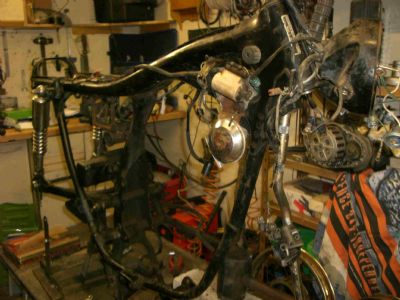
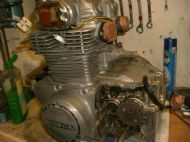
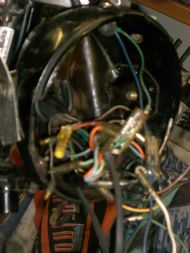
Engine out - timing side Ready to be cleaned up The wiring as said before is quite complete but various components need to be removed before the frame can be cleaned properly. This includes the wiring at the headlight where most of the plastic covering of the loom is broken and cracked. The grommet in the headlamp shell is missing and will only cut through the wires if left. It gives us a chance to buzz out the wires and clean up any dodgy looking connectors when tidying up the loom.
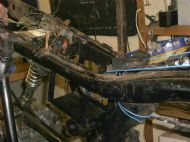
Above, bare frame
Left - before the holes are taped
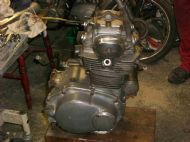
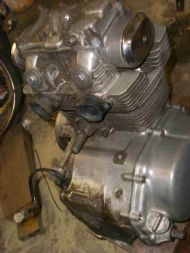
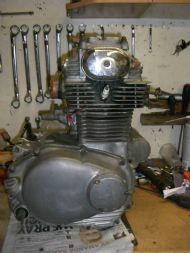
Andy has the engine steam cleaned and it looks just the job. The frame is getting a bit of a clean up before the engine is replaced. Nothing has been replaced so far and nothing has been altered other than necessary repairs. The wiring loom has been dismantled completely and is in very good condition apart from hardened and broken plastic loom material which has been replaced by heatshrink out of Halfords. Some parts go through the handlebars and the cover has cracked in several place swhere it takes sharp bends. The wires themselves are great and all connectors clean and in good nick.
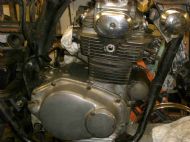
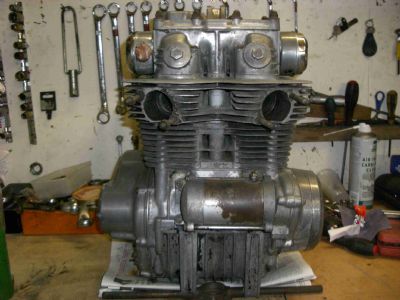
Two views of the cleaned engine
Front view of the cleaned up engine - superb! 21st February, the rebuild begins! The frame is not being powder coated or stove enamelled or any such nonsense! The frame is not totally stripped and the paintwork is not so far gone as to justify removing the original coats of gloss black. A restoration of the worst parts are being carried out with a can of spray paint as we know that the result will be just fine as we found with the Frankie. The yokes are back in place with the top yoke taking a fine lustre, and various bits of tinware back in place. The headlamp shell has temporary light "racing" brackets to allow the wiring to be restored within. As with all Jap bikes it is a tight fit for all the wires and the light unit. Total spent to date has risen to £9.00 for two cans of spray paint and laquer. It will be restored to it's original burgundy - I wonder if Burberry did a set of panniers in their lovely tartan style check? I think they would complement each other!
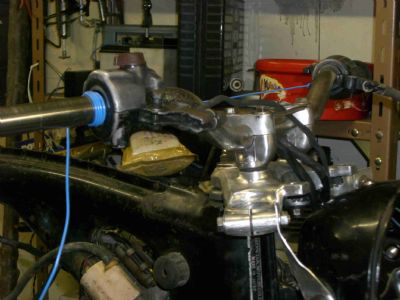
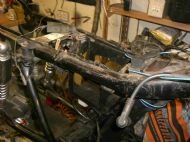
Top - tinware reinstated Left - Spaghetti in a Yokohama sauce
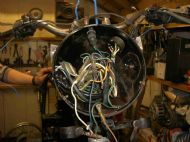
Top yoke and bars back in place Some progress despite culinary and organoleptic diversions. I have forgotten to get pictures of the new hubs fresh from the beadblaster. The wheel bearings have also been renewed and the tyres are now ready to be fitted. The wiring diagram was enlarged from A4 to A3. Then to A2 and again for the main part to the eqivalent of A1! At least we can decipher the thing and put the right bullets into the right connector. The headlamp is now almost complete as far as the lecky is concerned - it just needs to be tested. The rest of the wiring is just about complete so here's hoping it all works when a battery is put in place. I think it will run very soon.
Complete wiring in headlamp Regulator and rectifier in place Progress with a new engine sprocket, one new indicator (too shiny!) and a bit of painting. More of the wiring has been replaced and the painted bits need to be off for redoing. Next week the engine can be reinstalled, as can the rear wheel and the rest of the bike behind the tank. Not far to go now!
Front and rear hubs after being bead blasted
Under tank wiring complete Shiny tank rhs
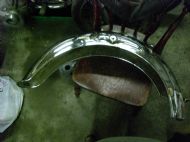
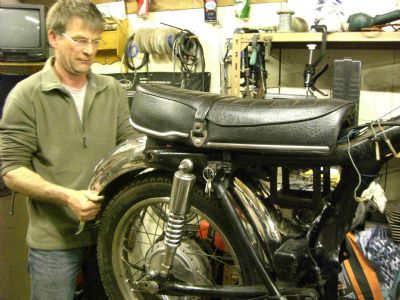
Shiny tank lhs Lots of polishing took place as the chromium plated bits were discovered and replaced on the bike. Allan did a great job on the mudguards in particular. With the shot blasted engine now available, it was replaced into the frame and ready for a test. Unfortunately Lawrence turned up with a reward for doing his hub and all progress was halted for a week.
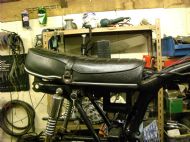
Polishing by Allan E-Bay seat fitted Andy has been busy on e-Bay buying bits and pieces. The original seat was a bit rusty and a repair was attempted but a nice item was found and purchased from e-Bay. A battery and tyre as well as tank badges were also bought. The tank and other parts are still not back from the painters which prevents us from getting the front end back together. The engine was tested in the frame but an intermittent fault was traced to carburation and the diaphrams were found to be not quite as good as we had thought (hoped?). The carb slides should be with us soon and the painting soon afterwards.
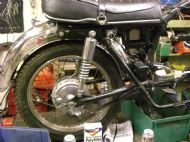
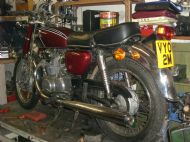
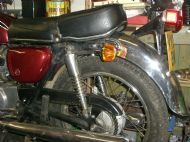
Complete with number plate Rear end nearing completion
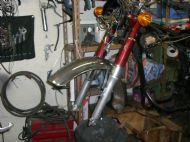
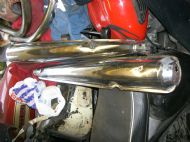
Andy hones his mudguard fitting skills. As we await the carb slides, tank and headlight brackets we push on with cleaning up the forks and preparing the chainguard for painting. The battery is the right size but the vent pipe comes out of the wrong end for this model. There is little point in sending it back because we might not get the exact battery and the alteration to the battery box is quite minor, with a check needed for the breather pipe. That done, the battery is fitted and all seems well. The front end is being held up waiting for the headlight brackets and that is likely to take the most time to reassemble. The new seat was a bit wobbly, rocking fore and aft on the lock and the pivots. We reckon that the seat base is slightly bent with the seat being used as a hold to lift the bike onto the centre stand. It could have been left as it is but we fit a rubber spacer to take up a slight gap to stop the rocking - much better using the rubber stop from the old seat bearing on the same spacer on the new seat; Honda themselves would have been proud! The abortive attempts to get the machine to run properly had us scratching our collective heads after the new slides and diaphrams came back. The opinion was that the carbs are still full of muck in the galleries and jets despite the cleaning already bestowed upon them - we recalled that the AJS needed 3 rounds of carb cleaning before it all worked properly. Anyhow Andy brought some powerful carb cleaner which was unleashed on the carbs. It seemed to dissolve a quantity of muck which makes us more optimistic. The shellac and varnish deposits are just so troublesome when trying to re-commission an old bike. Disaster! Well not quite, but the engine had to be removed to take the cylinder head off to repair the unsuccessful helicoil on the sparkplug. It was always a calculated risk to put the engine in without a top-end strip, but why disturb anything you don't need to? Anyway our assessment was wrong and the head did need some reconditioning in terms of a proper repair for the sparkplug threads and a regrind for the valves, which do need it. This is in hand and it will purr like a pampered kitten in a few weeks. Hopefully. The painted bits are back and look fab in a nice shade of deep Jaguar red. This allowed the fork shrouds to be put back and the forks properly assembled. The tank decals are off to be applied by the painter, but we don't need that until last. The time delay for the head allows a clean up of the exhausts which look much better. An MOT tester's opinion of the exhaust was that they are perfectly OK for the test. We want the original exhausts in keeping with our philosophy - originality and authenticity above all.
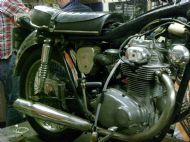
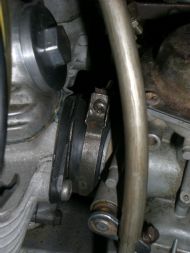
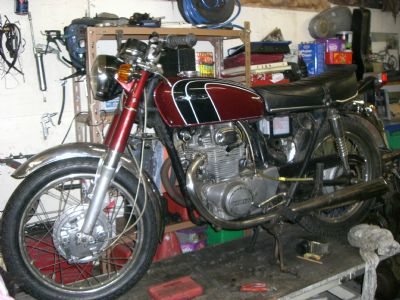
Forks back together Shiny exhausts The engine has now been reassembled and is back into the frame. A minor crack in one of the choke butterflies was discovered and a new one manufactured; you would not believe it was not a stock Honda part such is the workmanship. Anyhow, carbs were replaced and all systems go! And it runs perfectly! (as far as we can tell without a road test!) Won't be long now! For some reason the bike will run only on a single cylinder with any reliability. It does fire on both and the problem cannot be serious. We are confident after a compression test that it is not a mechanical fault and it has to be either carburation or ignition. Both have been checked thoroughly more than once and the problem cannot be identified. Thinking caps are on! Swapping of carbs, ignition coils, new plugs and a reclean of the carbs show little improvement in the running of the 250. The timing has been strobed and yet no improvement. So back to first principles. New points were fitted and set. The valves were checked for operation and free play OK. The silencers were removed to test that the output from the downpipes were showing similar patterns and another compression test - all OK. Then a chance swap of spark plug prompted a change of pattern placing suspicion on either the plug lead, coil or spark plug on the left side. The HT cable was pared back a centimetre or two and the spark plug was replaced with another - and it runs!! A dodgy plug that is virtually brand new appears to have been the problem. Goes to show that you can't trust anything. But it still doesn't run properly. A carb problem is suspected. On starting, a physical movement of the carb exacerbates the popping on the left cylinder. WE had noticed some cracking of the rubber on the inlet tract but some tests proved it to be good. Clearly it is not and Andy applies the silicone that should have been applied some months ago. It runs on the right side perfectly without any bother so the inlet tract may have been yet another small fault causing it just to run badly. It can't be tested until nexy week so the petrol tank is fitted. It has come back from the painters and looks just brilliant - we will use him again without rservation!
Above - almost there and looking good Left - cracked carb inlet stub
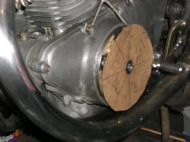
Still it doesn't operate as it should! We have borrowed two new coils and condensers and rig up a separate ignition straight off another battery. The running is still erratic so the ignition system on the bike appears to be fine. What next? Compression OK. Electrics OK. Timing spot on with the strobe. Carburettors cleaned out several times with strong carb cleaner. New points. Rod decides to go back to basics and reckons that the only thing that doesn't look right is the points back plate which should be in the middle of it's adjustment but isn't. Is the camshaft out by a tooth? A dial guage is made to check the valve timing. It seems that despite our best efforts that the cam chain has jumped round on the crankshaft sprocket at some point, although it was checked at the time. And double checked. To do this without taking the whole engine out we needed to drop it off the engine mounts to give the room to take off the top cover. That done, we have full access to the camshaft. After several attempts we eventually get it right, showing how it can be easily assembled wrongly.
Honda 250 - nearly ready!
All wired and cleaned Disc with valve timing marks At long last we have found one of the major problems in the valve timing. The manual we have and the manufacturers marks do not add up to a definite position for the camshaft timing. In any case we are left with the final fettling and a bike that is willing to operate as it should. The joke in the shed is that the bike arrived in the snow and will leave in the snow. I think we will ensure that is the case!
|    |
|
 | ||


