
tie a bullhead jerkbait fly
this fly works the same as a jerkbait give it a short tug and it will glide from side to side it uses big hooks and a lot of material although you can cast it on a 10wgt without a problem , the fly can be tied as big or as small as you like a deadly pattern for the pike or muskie angler
1- lay down a thin layer of croc clue or other strong glue on the hook shaft (long shanked 6/0) and then lay down a bed of thread on top this creates a rock solid bed for the materials to stick to
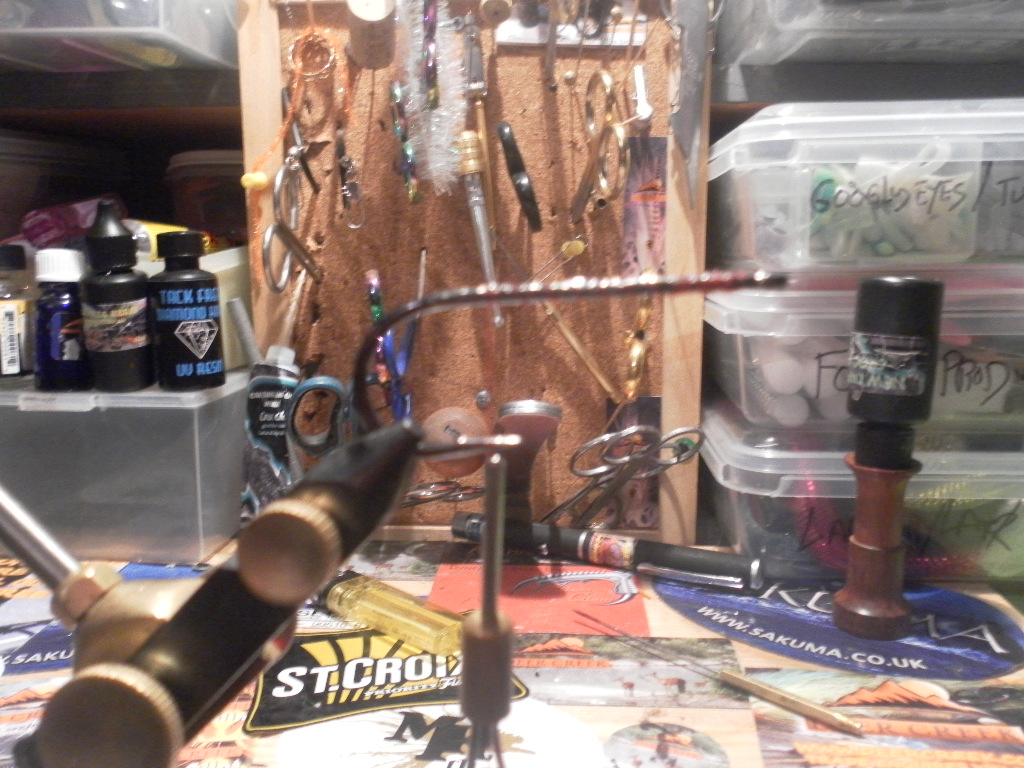
2- take you thread up to the hook eye then back to level with the hook point
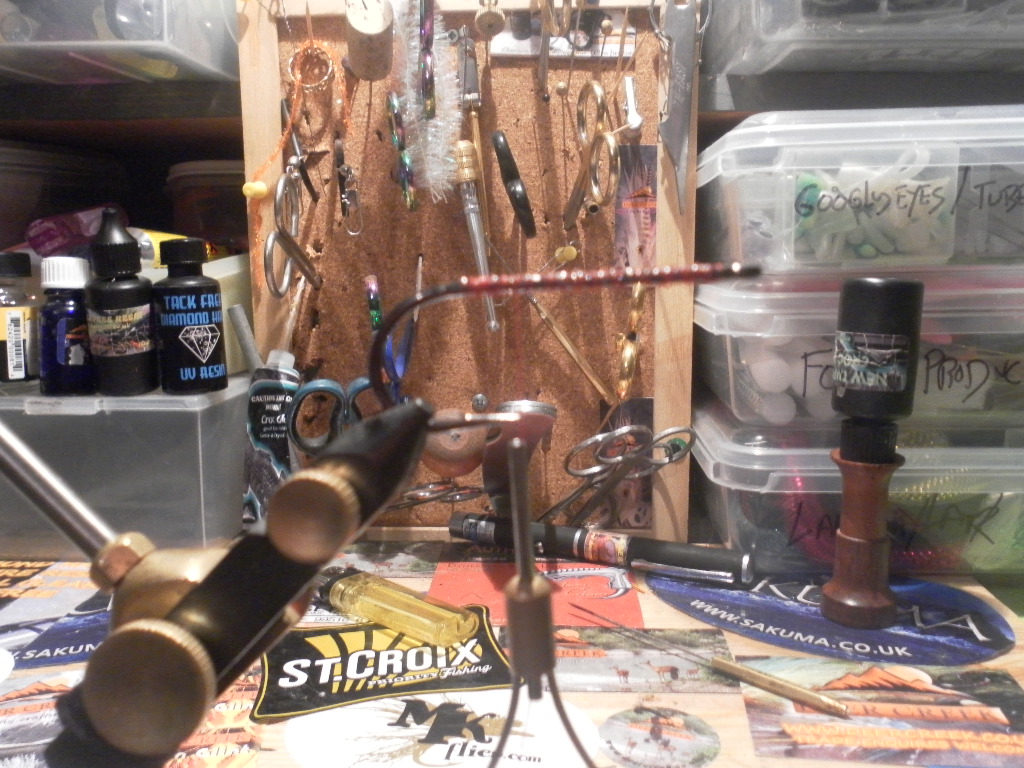
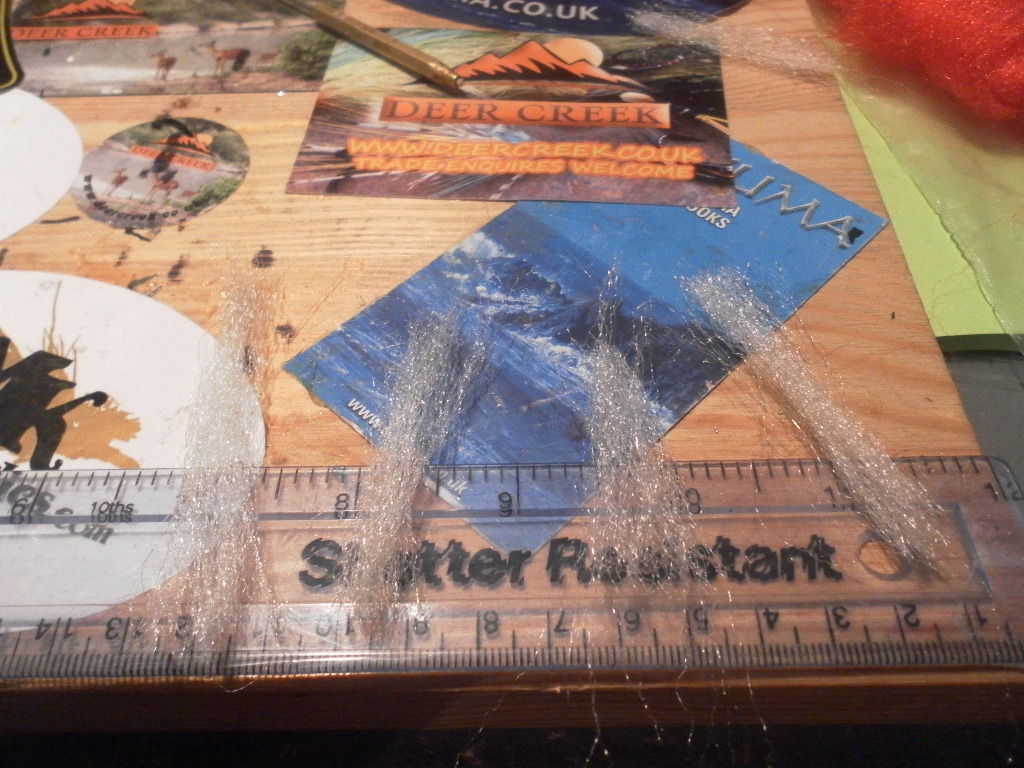
3- take a full length of ep fibre and fold it so that one piece is slightly longer than the other this will give you the body taper

4- tie the material in on the top of the hook like the picture below shortest piece on the bottom

5- take an identical piece of material and tie in with the shortest piece on the top this time add a dab of croc clue at this point to give the next lot of material a bedding point
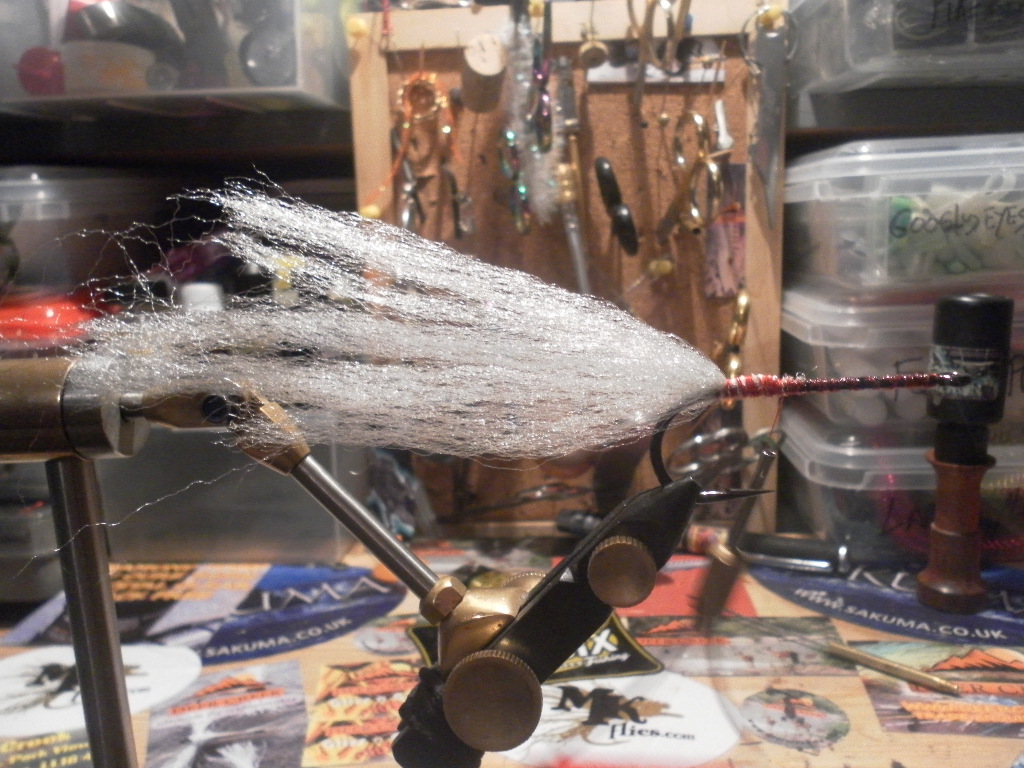
6- now we tie in a shorter piece on the top
7- and then another 3 pieces one on each side and one on the bottom

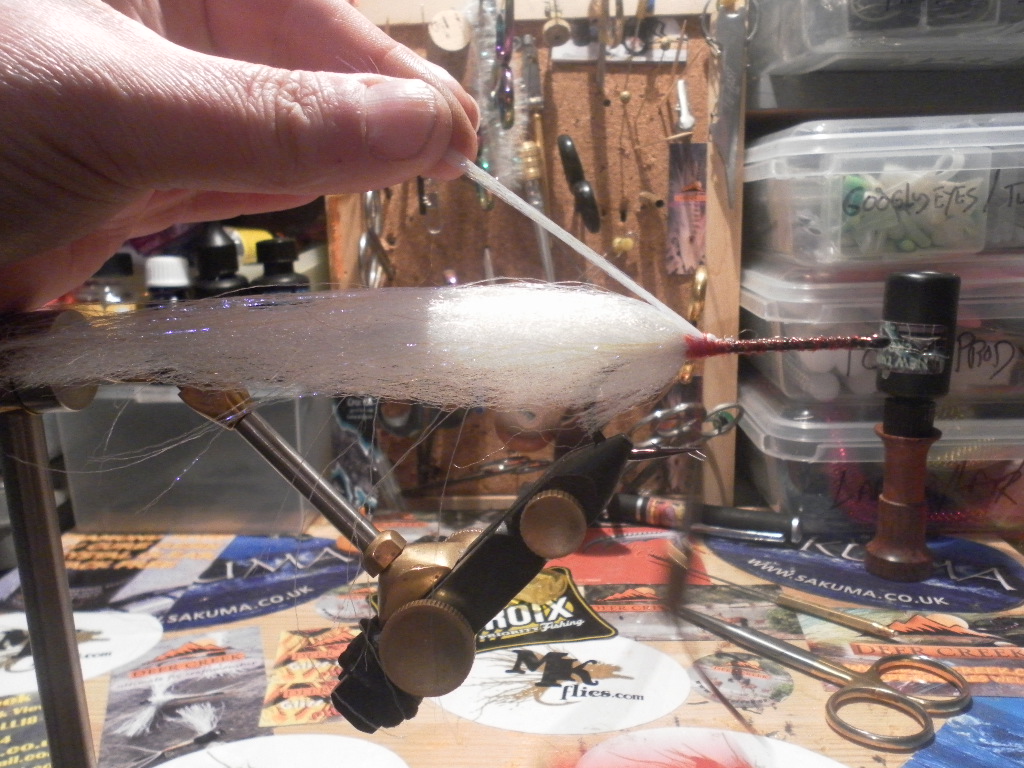
8- we then fold everything back and tie it down with half a dozen wraps , at this point you can add a dab of croc glue or a drop of varnish on the whipping again to give a bedding point for your next step

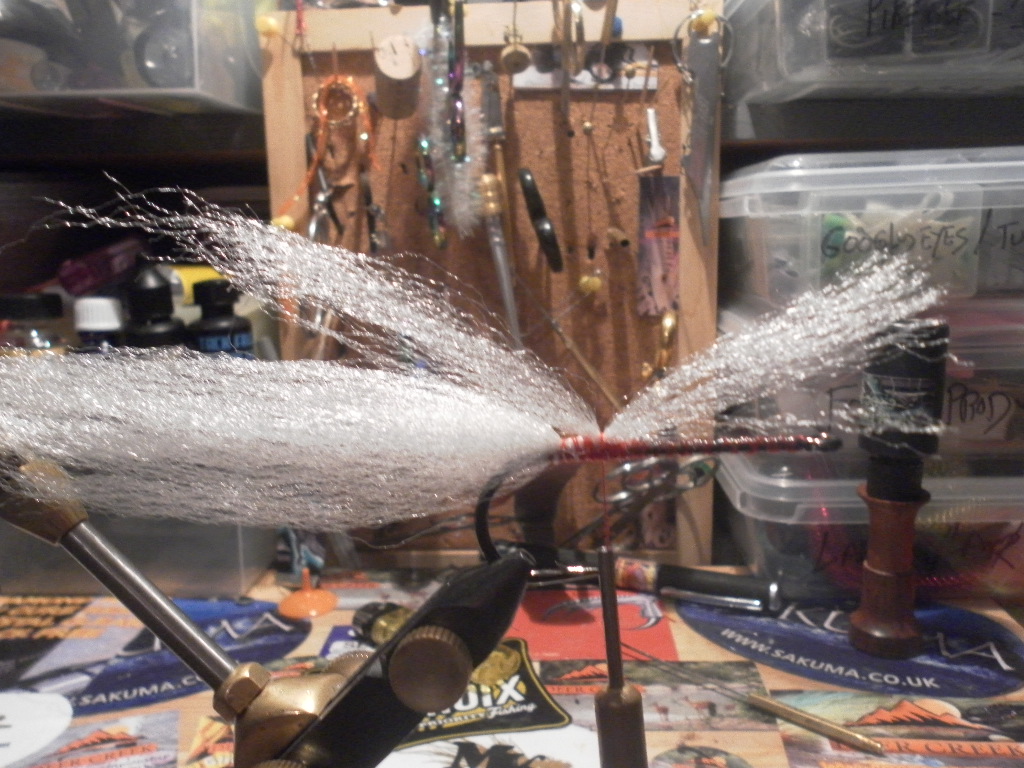
9- we now tie in some UV pearl flash hard to see in the picture but it runs along the side of the fly for the whole body length , you only need 3 or 4 strands
10- take half a dozen UV flash strands and run the length of the back of the fly and fold back the remaining short piece to lie along the back
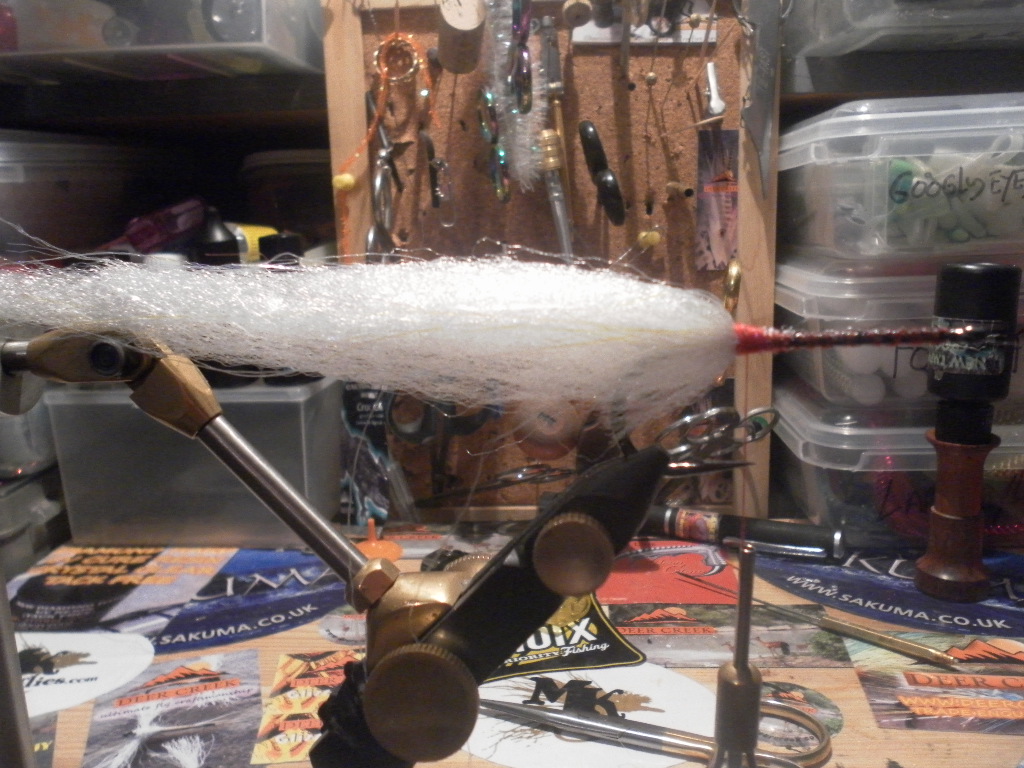
11- take a length of ep fibre and cut it into four lengths (they don't have to be even ) but put the longest pieces on top and sides and the shortest on the botton
12- when you've done it will look like this ad a touch of glue or varnish the the wrap and you ready for the next step
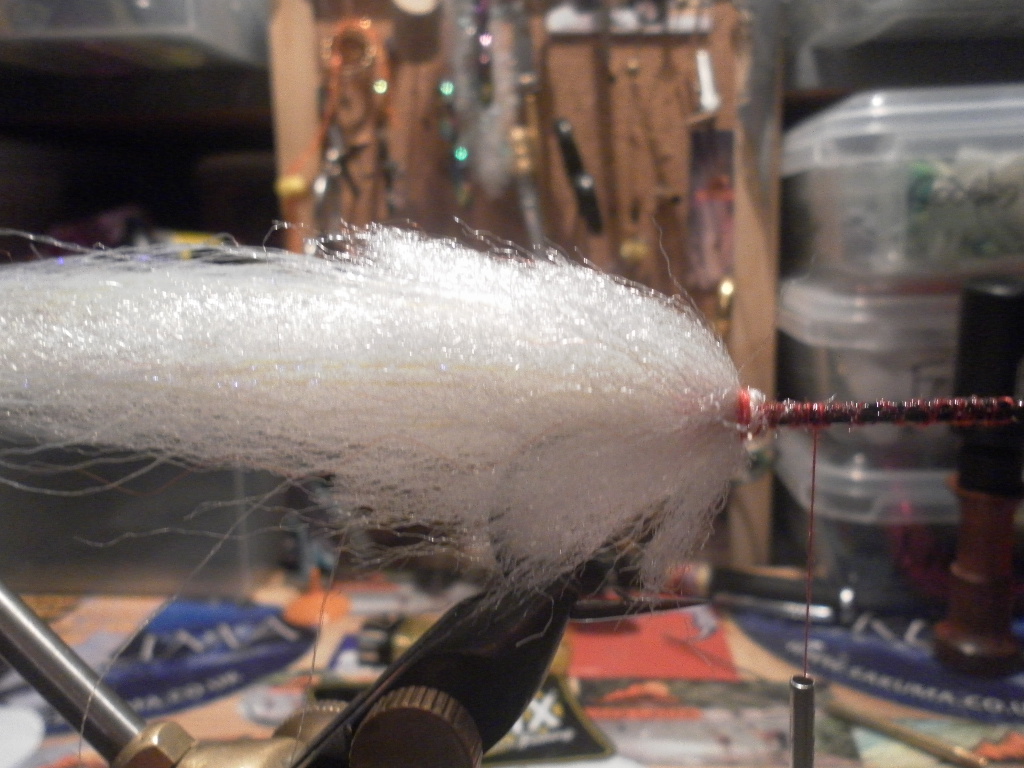
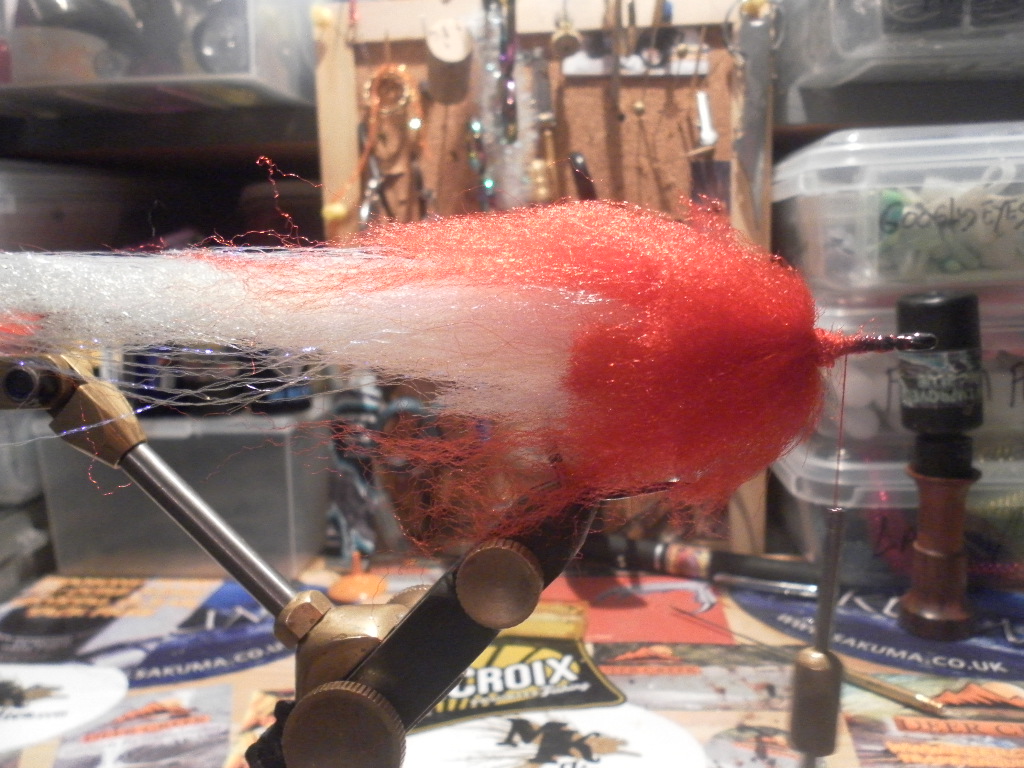
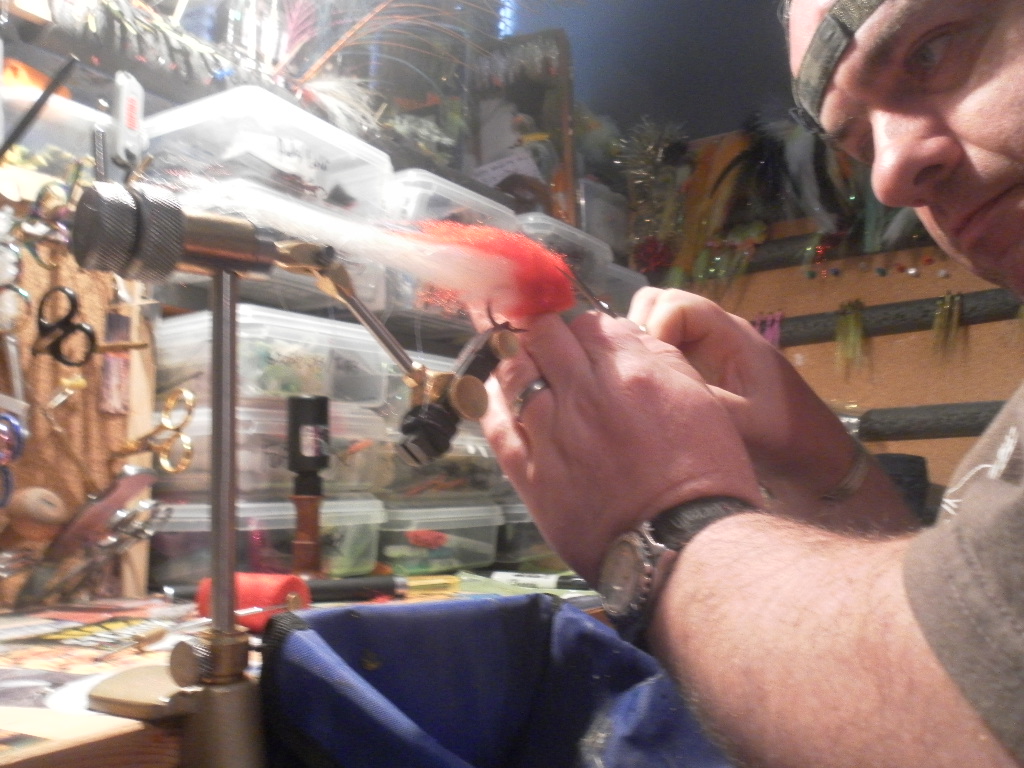
13- now your ready for your head colour , in this case red you need to take one long piece of red for the top then 3 shorter piece's for the sides and bottom , don't worry too much about getting lengths all the same as the trimming process takes care of that

14- fold everything back and tie down , again adding some glue or varnish as your next bedding point (gluing or varnishing stuff down helps to protect against teeth) and prolongs fly life
15- continue the same steps building up the head all the way to the hook eye
16- whip finish and add a dab of deer creeks tack free diamond hard UV

17- zap for a couple of seconds and you get a solid tack free rock hard finish (if you don't have UV then just varnish)

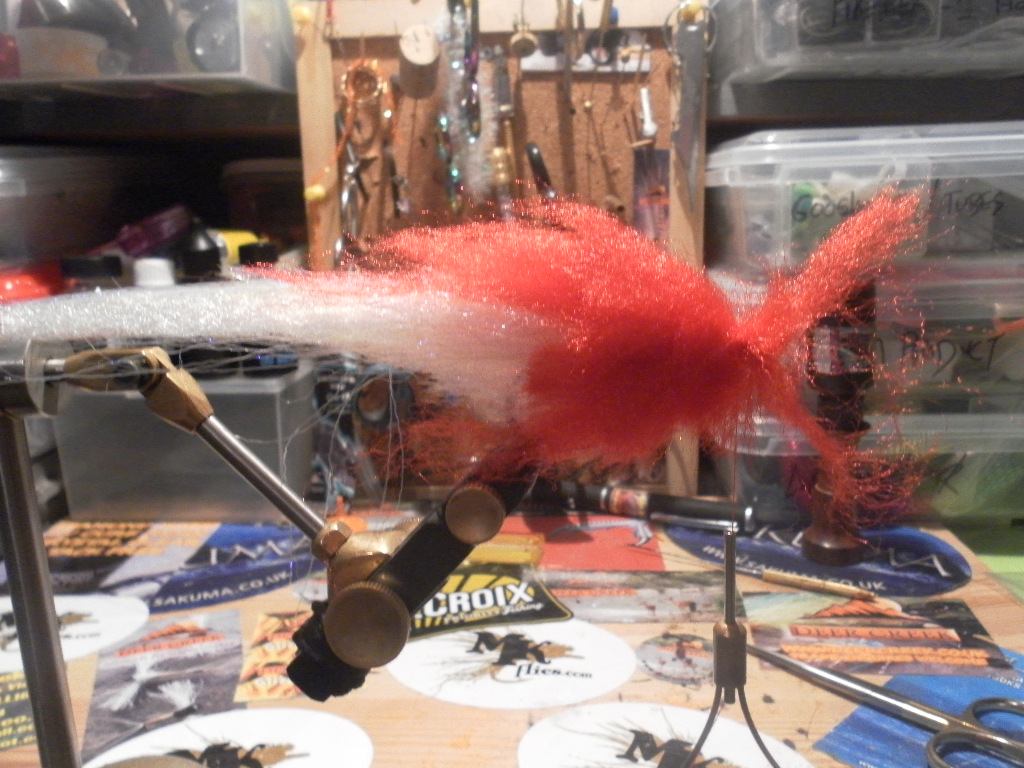
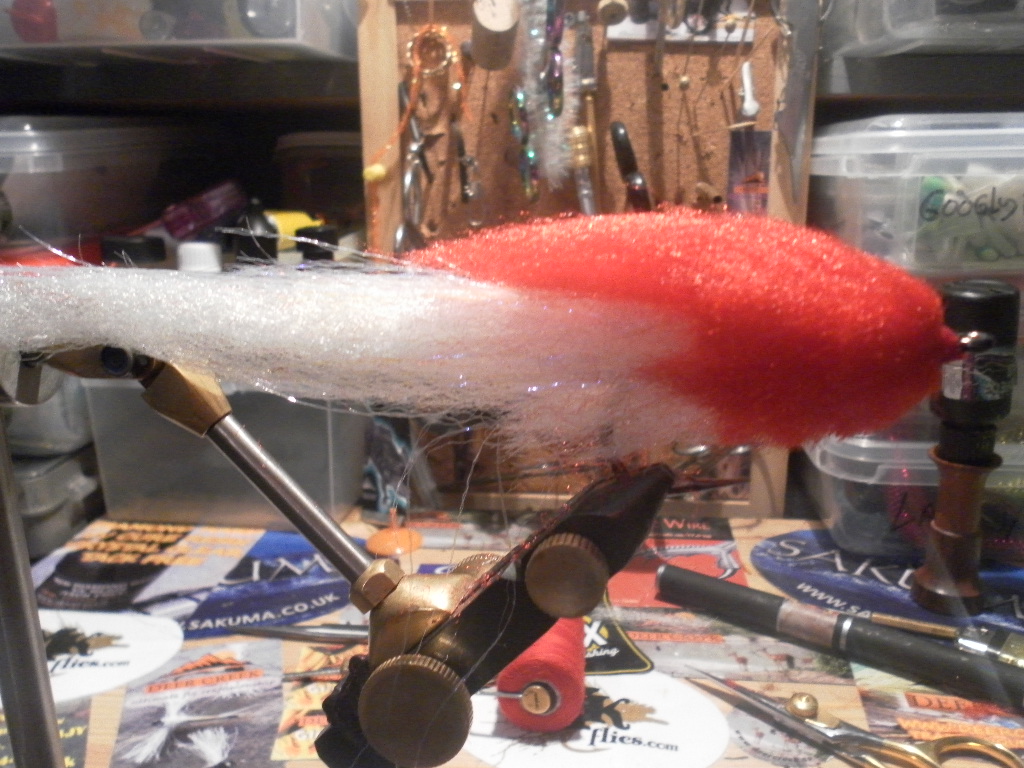
18- here's the finished untrimmed fly
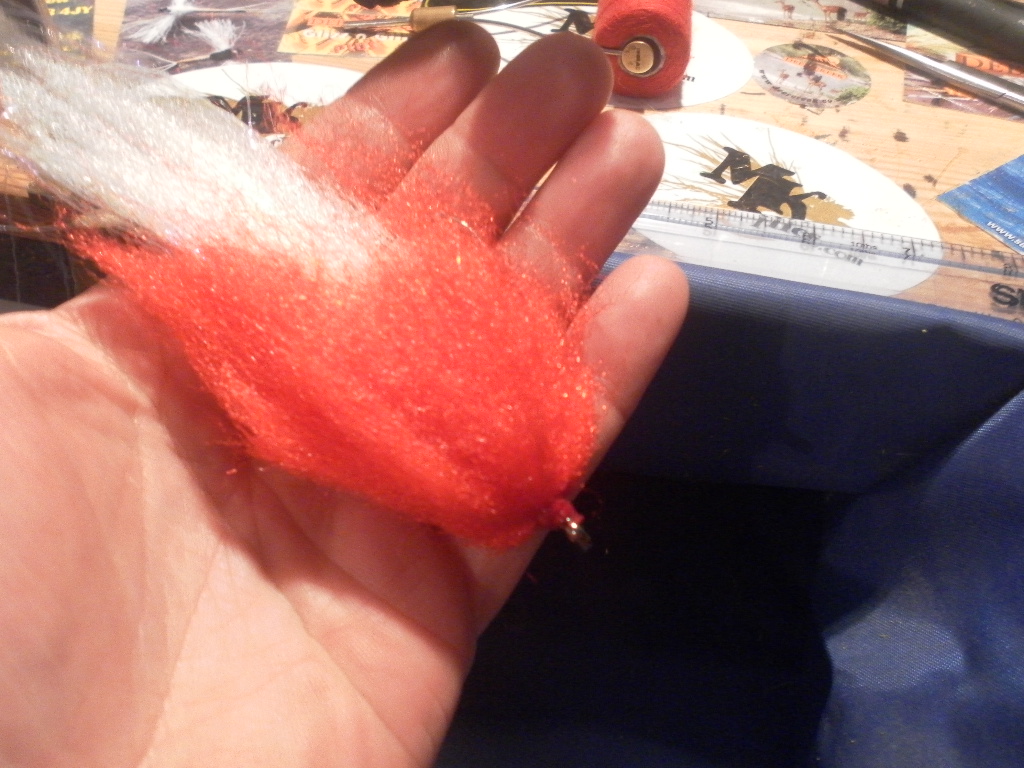
19- place the fly back into the vice and rotate so you trim the bottom first you'll be taking quite a lot of the bottom so you still have a good gape

20- once trimmed the bottom will look like this , although trimmed down a lot the head is still quite wide
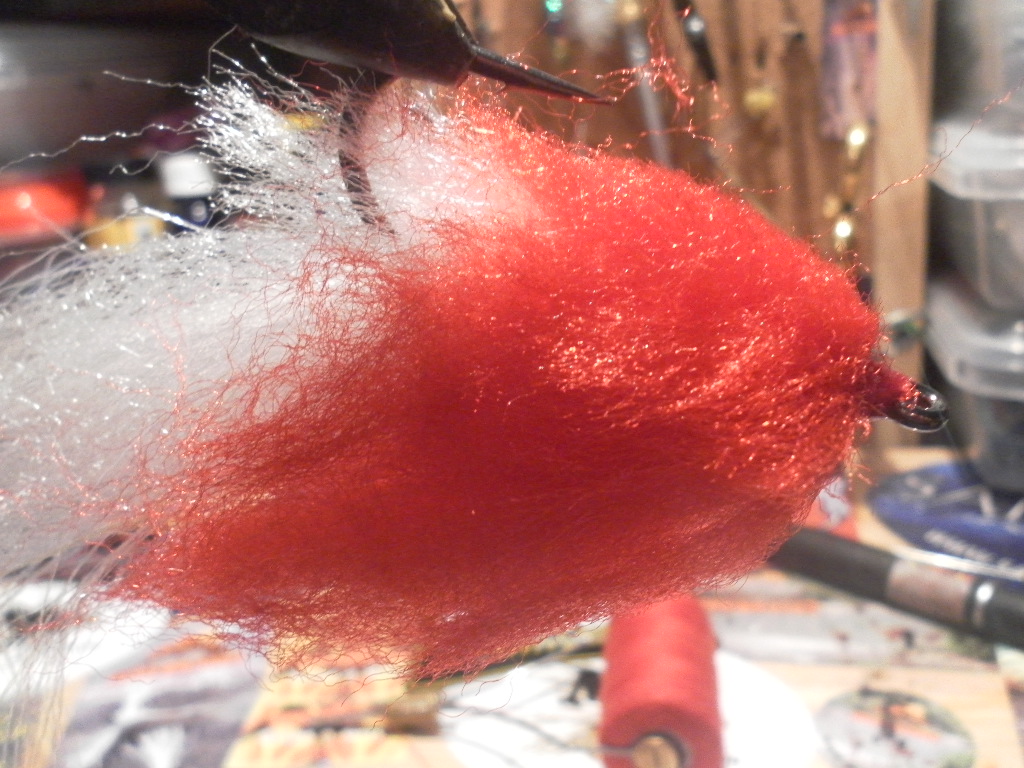
21- continue trimming around the head till you get the shape you want , I've opted for a longer red back section but you can trim this of if you want the top a block colour without bleeding into the back colour
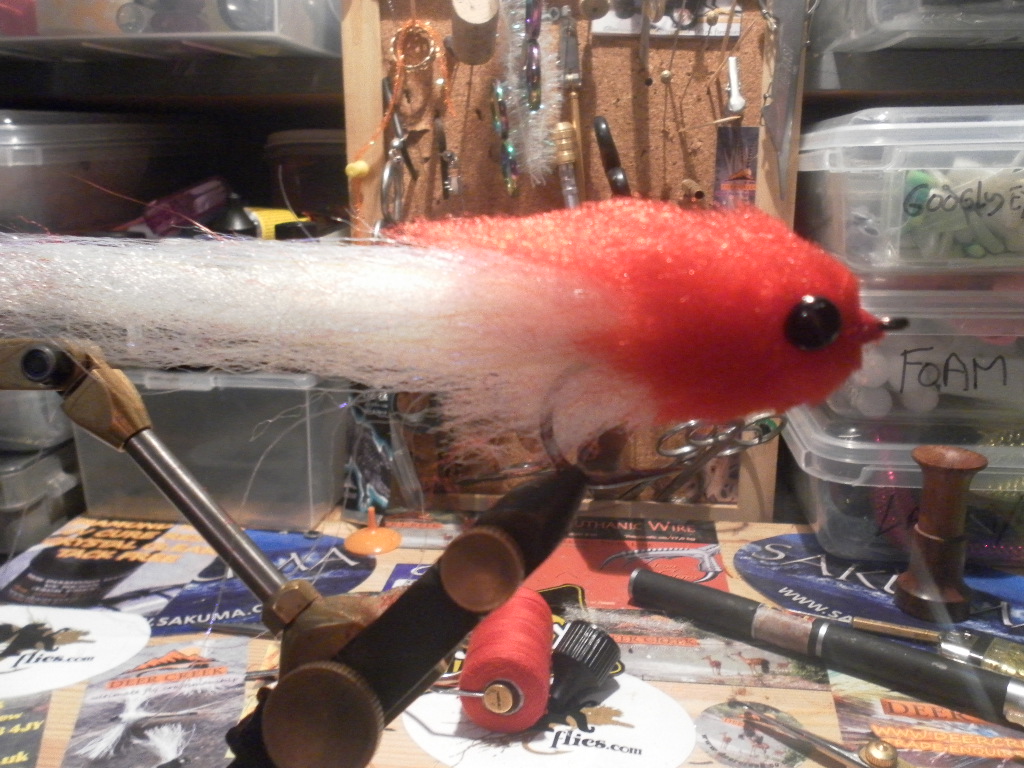
22-trimmed and ready for the eyes
23- attach the eyes with either a 5 min epoxy or croc glue for a firm and secure hold . and there you have the finished bullhead
this is a great pattern and you can do a lot of things colour wise with it and even with perm markers , I've been making these flies for many years and in various sizes from standard pike and musky sizes up to really big flys for a guy shark fishing and even down to minnow sizes for trout , key is to get the head right for the movement which is the thing that makes this fly deadly ......have fun with it
mcfluffchucker
(a cave in Scotland)
